I scored this vintage CH Products Apple II Joystick for $14. Admittedly, a little more that I wanted to pay for a non-Apple-branded joystick. I was expecting these things to be about $5 bucks. I guess they’re pretty hard to find nowadays. I bet come summertime I’ll find one at a garage sale for a buck and kick myself. However, it’s the beginning of February and I need a joystick for the IIe and //c now. So eBay pricing it is.
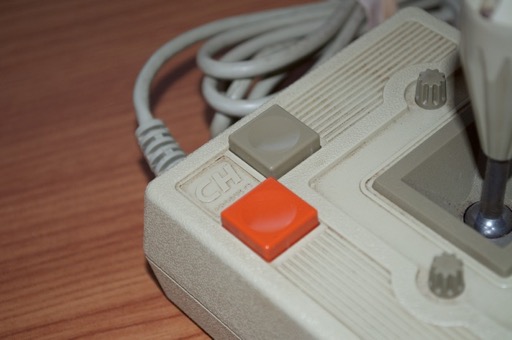
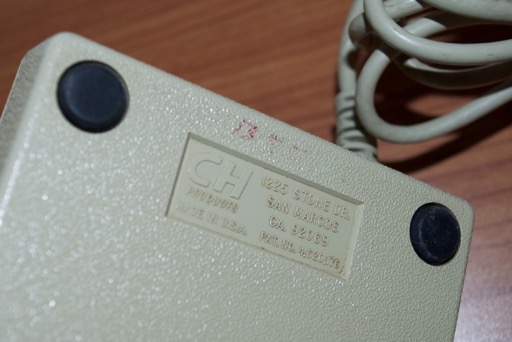
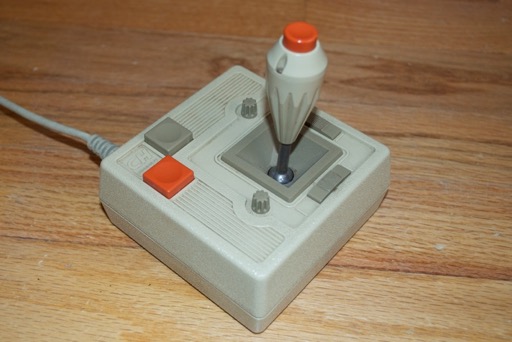
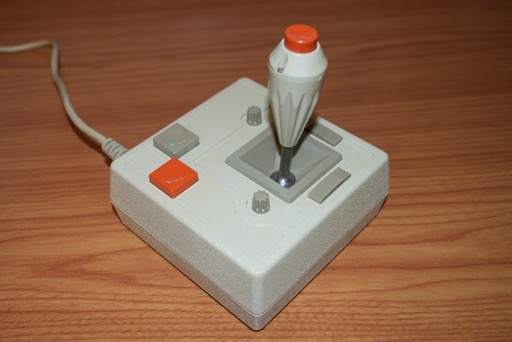
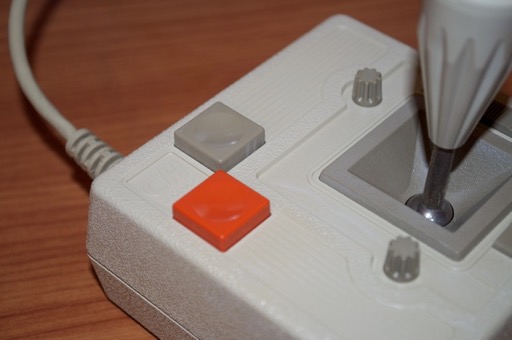
Still, this is pretty cool. Very 80s retro. Looks like CH Products tried to get their joysticks to look just like Apple’s. Even down to the orange and beige color scheme.

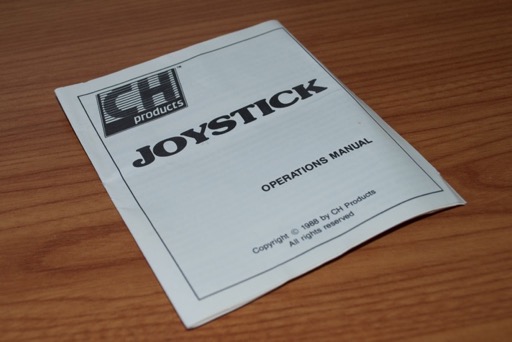
No box, but the seller included the manual.
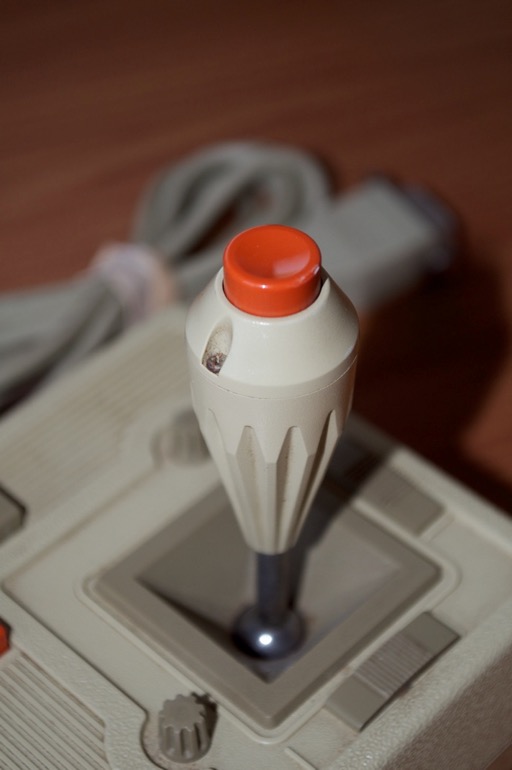
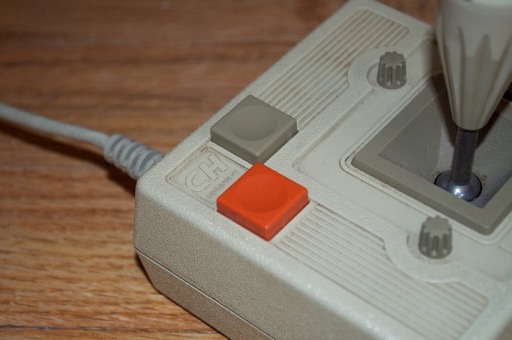
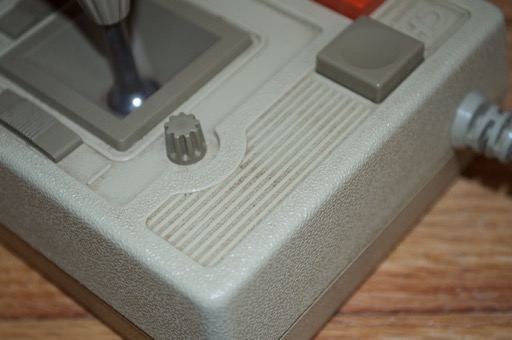
It’s pretty filthy. I bet it’s been sitting in a garage for the past 20 years. It’s going to need a good cleaning.

I can’t remember if I had the Apple joystick as a kid or if it was this one, because it just looks way too familiar.
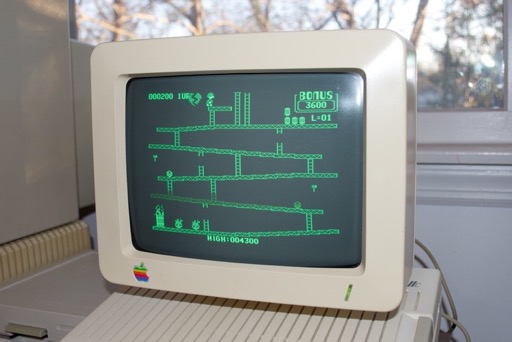
I plugged it in the //c and fired up Donkey Kong. Works like a charm. I can finally rock my old-school games with a joystick. Playing games with the keyboard is just brutal!
 RESTORATION
I could just just wipe the whole thing down with some alcohol and have at it with some Q-tips, but there’s too many little nooks and crannies that are caked with dirt and grime. It needs to be taken apart and washed in the sink. I might even give it a quick dip just to lighten it up a bit.

Let’s get to it.
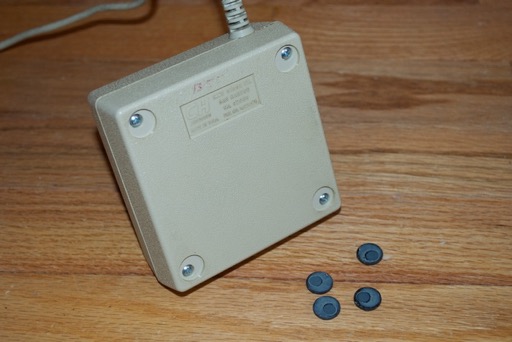
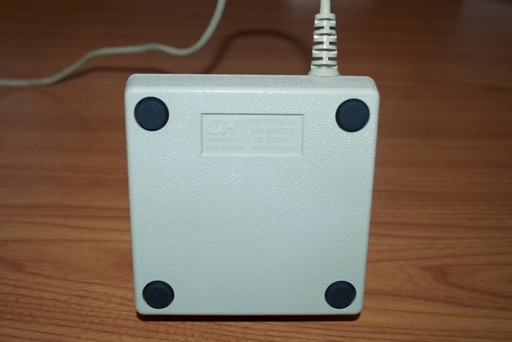
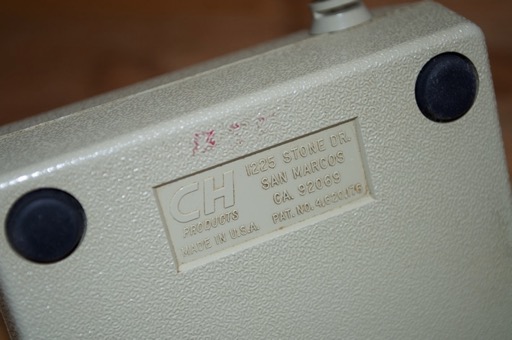
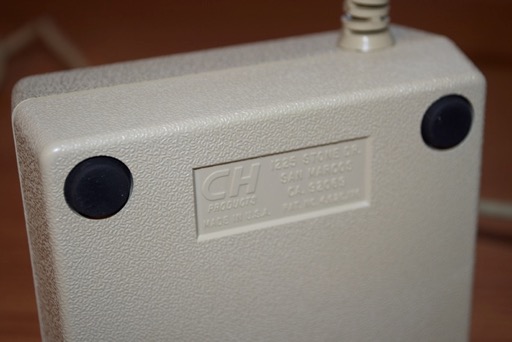
Remove the bottom feet with a small flathead screwdriver.
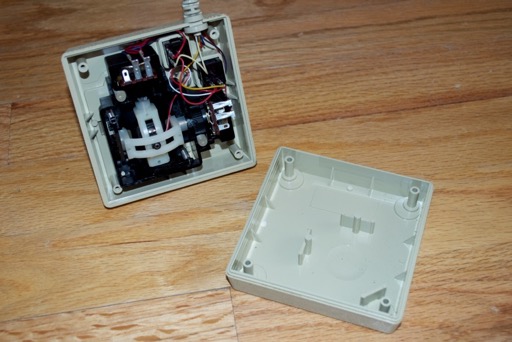
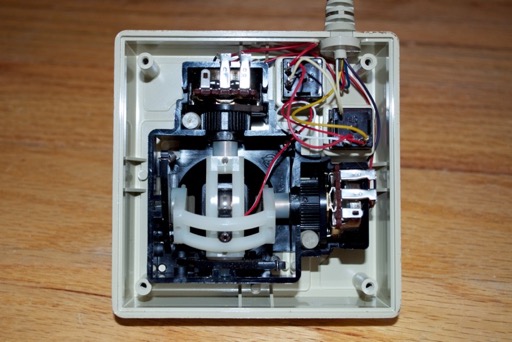
Once the feet have been removed, remove the 4 case screws and remove the bottom cover.
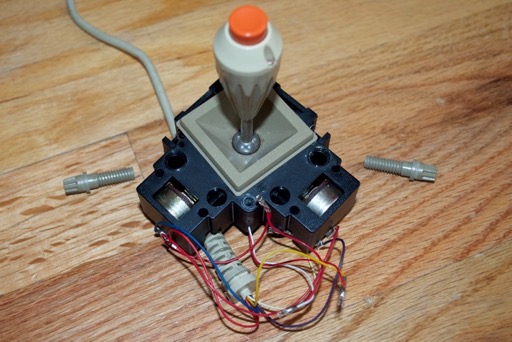
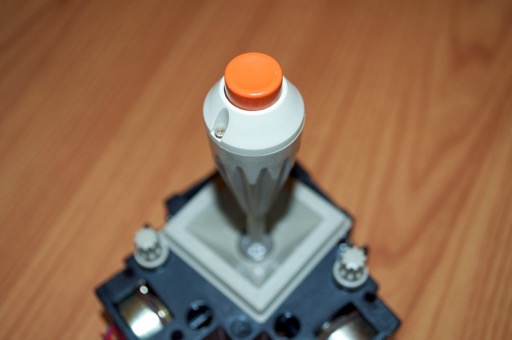
Screw in the X and Y axis trim knobs.
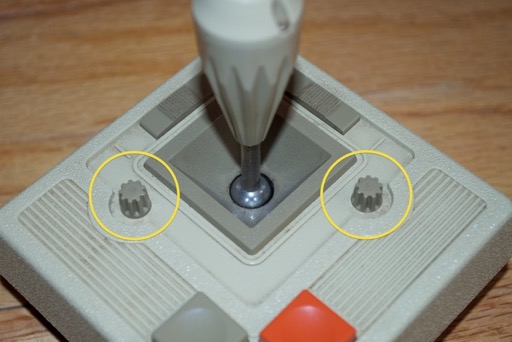
Once you’ve screwed them in enough, they’ll clear the case and you can slide the whole inner assembly out.
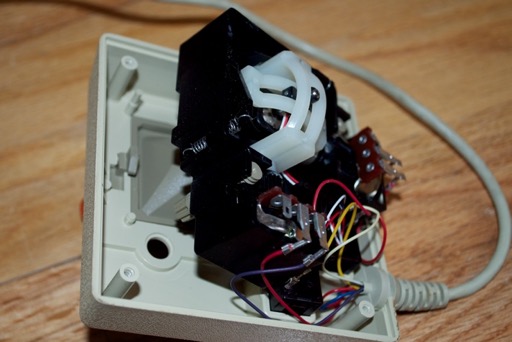
Flip the inner assembly to the side, being careful not to tear any wires.
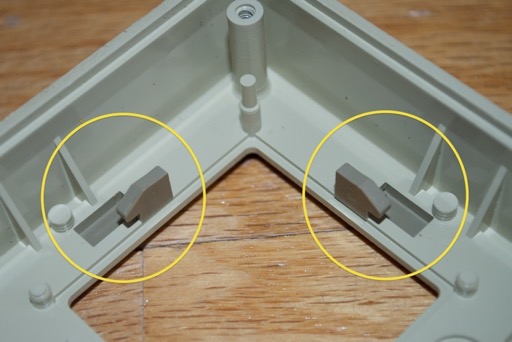
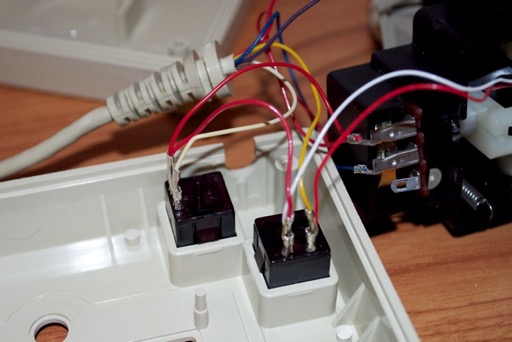
The two switches are held in place by two tabs. You can pop them with a screwdriver.
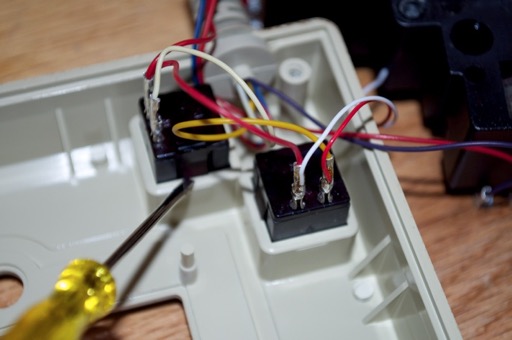
Then pull the switches through the front. The caps pull right off.
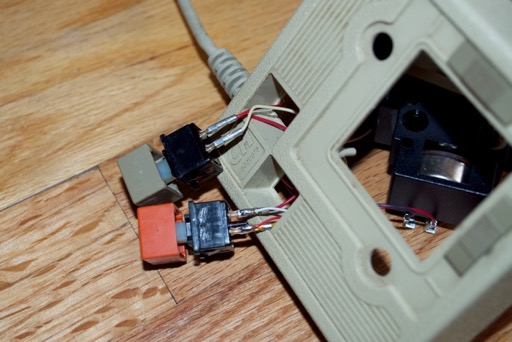
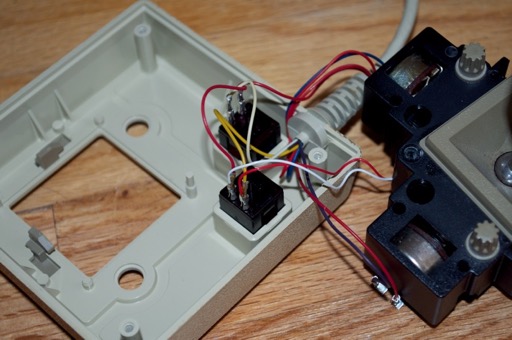
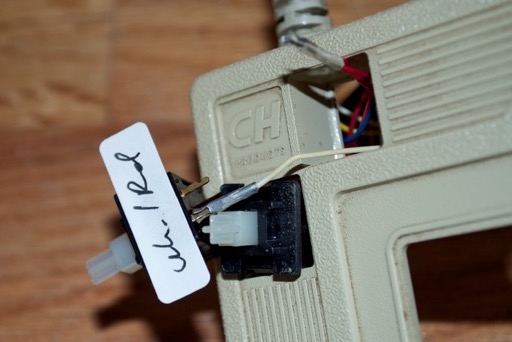
The wires aren’t soldered on. They pull right off. I marked the switches so I’d know later on where the wires go.
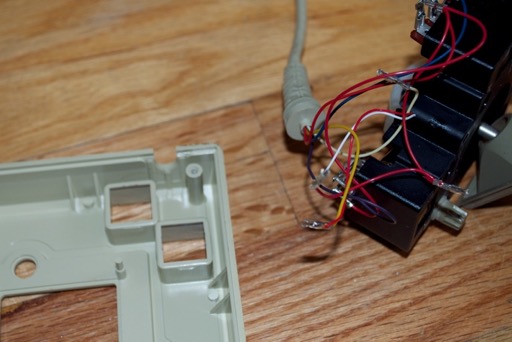
Once the wires have been disconnected, you can pull them back through the case.
Remove the mode switches from the top cover.
Back to the inner assembly. Unscrew the trim knobs.
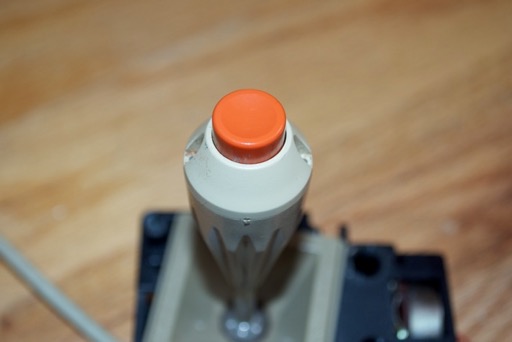
Remove the 2 top screws from the cap.
Remove the top cap and switch cover.
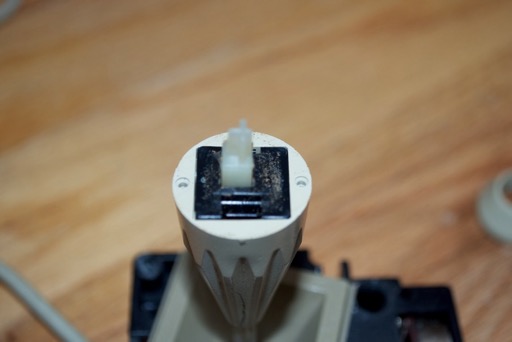
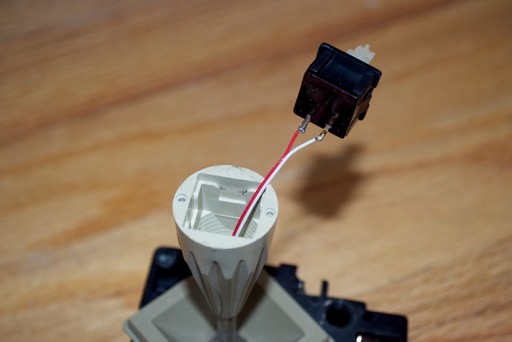
Gently pull out the switch. The wires are soldered on.
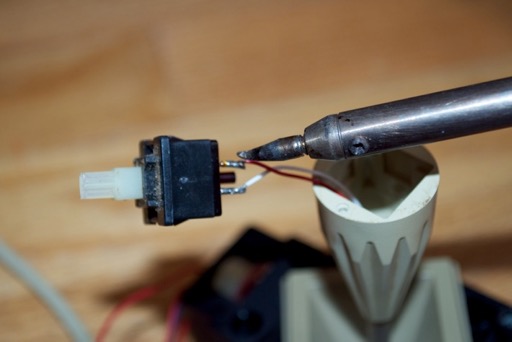
Fire up the soldering iron and remove the switch.
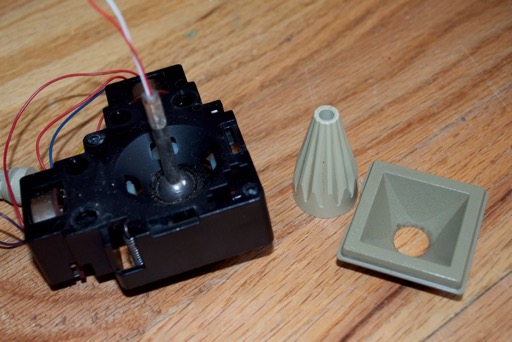
Once the switch has been removed, the other two plastic pieces can be removed.
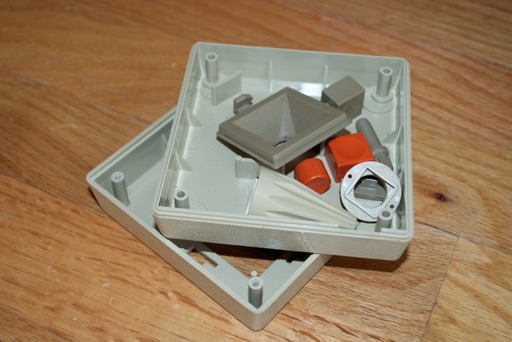
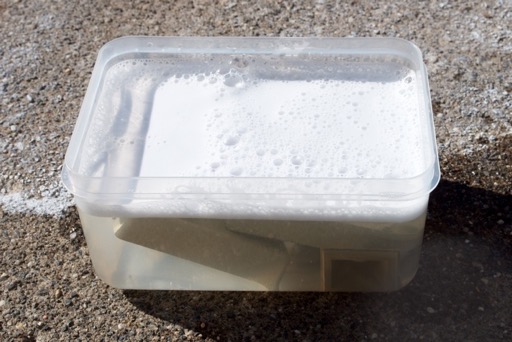
That’s it. All ready for cleaning and dipping. I gave them a good scrubbing in the sink. I used a toothbrush to get into all the small little recesses.
I let the parts sit in some retr0brite for a couple of hours just to lighten them up a bit.
 REASSEMBLY
Solder the switch back into the stick and rebuilt the top. Put the trim knobs back.
Put the 2 switches back in and reconnect the wires.
Put the mode switches back into the top cover and drop the inner assembly back in. Reattach the cable strain relief. It’s keyed, so it only goes in one way.
Screw the bottom cover back on and reattach the feet.
Looks awesome! Let’s see some before and after pics!
Wow, this joystick came out nice. Looks as good as new.
Now let’s rock some Pac-Man!