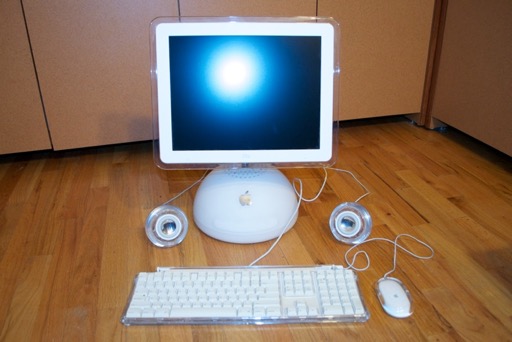
A friend at work hooked me up with his 2002 G4 iMac. He’d been having some trouble with it. It was being rather picky about starting up. He’d have to power it up a couple of times before it would do its thing. Now it just doesn't boot up at all. He’d already replaced it with a new Mac, so he was looking to finally get rid of it. Not a problem, I’m always willing to relieve someone of an old Mac.
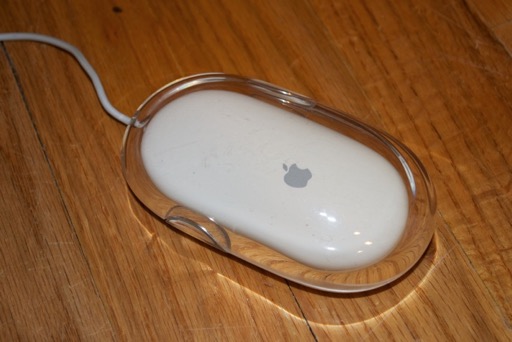
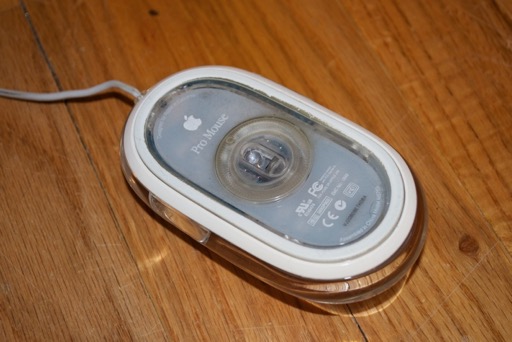
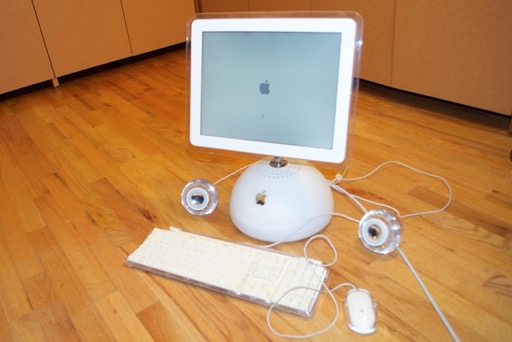
The machine came complete with the original keyboard, mouse, and speakers.
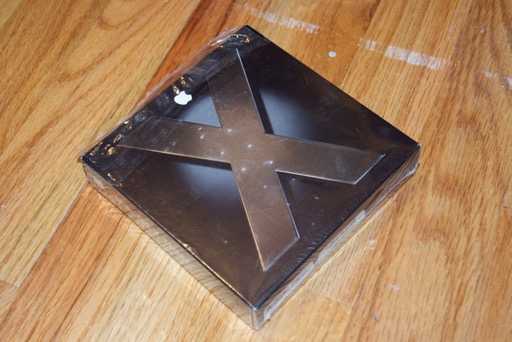
He even threw in some Panther upgrade CDs, a retail box of Tiger, as well as some cool books.
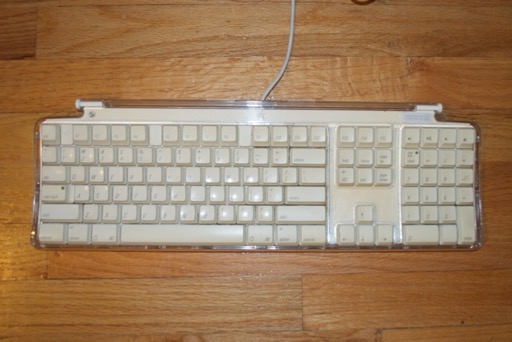
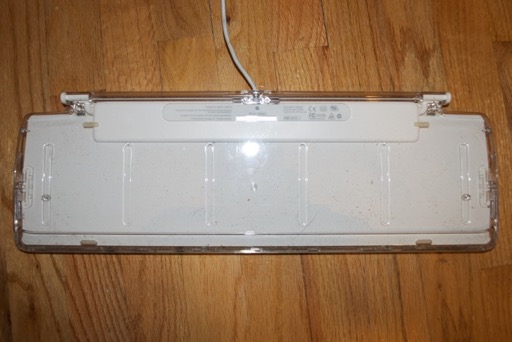
It needs a good cleaning, especially the keyboard, but overall it looks like it was well taken car of and doesn’t have a mark on it.
The keyboard is the only piece that shows yellowing. That strange right? I’ll have to take it apart to clean out all the dust, so that’ll be a good opportunity to retr0brite it.
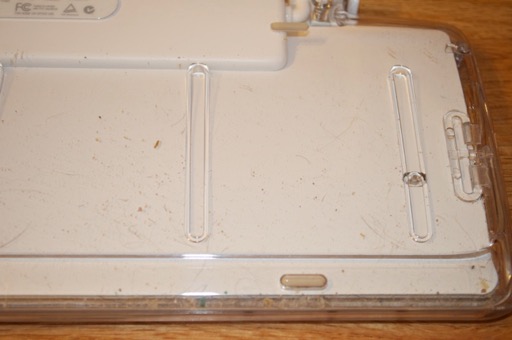
See, pretty dusty under there.
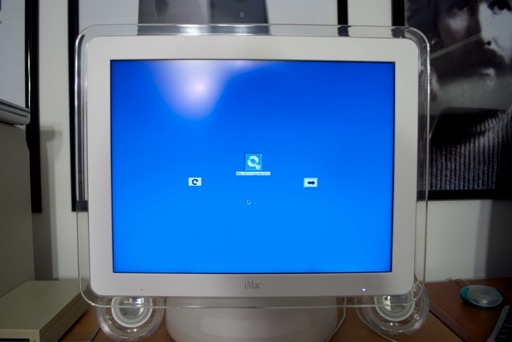
OK, let’s power it up and see what’s what.
Looks like that’s as far as it gets. I just hear a click, click, click coming from the hard drive. Sounds like it’s dead. Let’s open it up and pop in a new one.
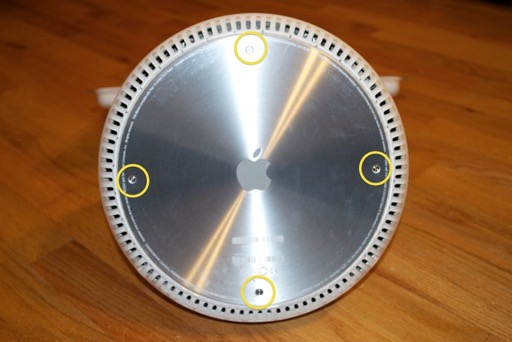
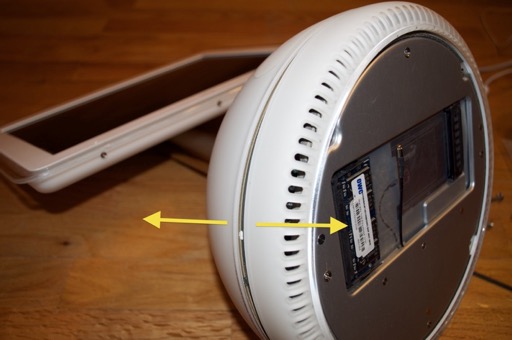
First, flip it on its side and unscrew the 4 screws on the base. Nice base huh? I’ve seen people make clocks out of those by drilling a hole in the center of the Apple logo and installing one of those cheap battery powered clockworks. Neat idea.
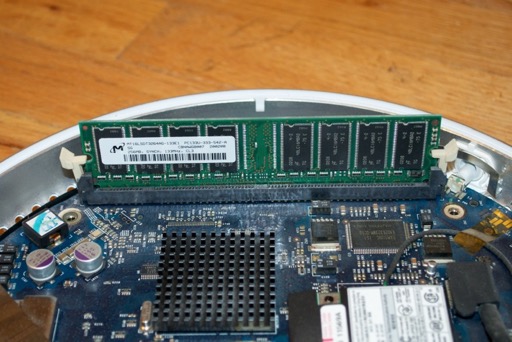
Remove the cover to reveal the RAM and Airport compartments. Looks like my friend gave it another 512 Megs. Free RAM upgrade are always nice! Remove 4 more screws.

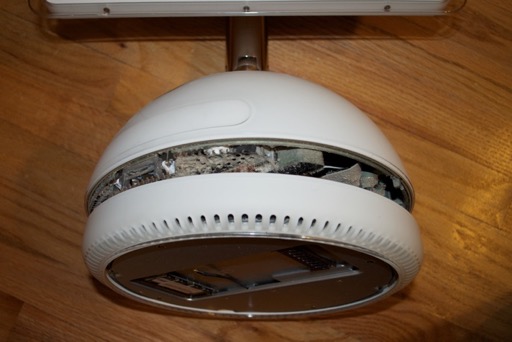
Once those 4 screws are out, you should be able to pry the base apart.
Just work your fingers around the base until the two halves have been separated. Be careful, some of those edges are sharp. Also, be careful not too pull too hard as both halves are connected by wires.
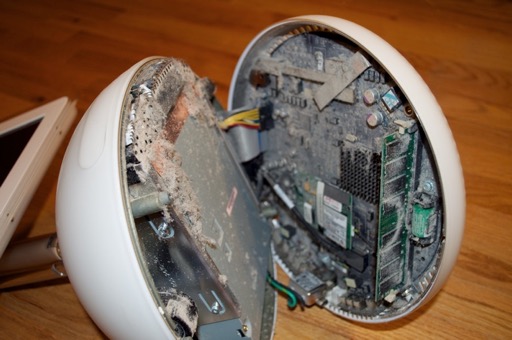
Wow, that’s dusty in there! Where’s my can of air?
That’s better.
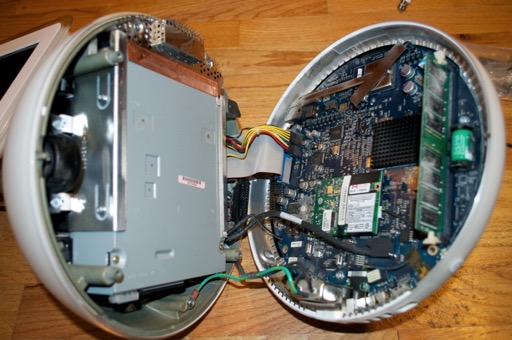
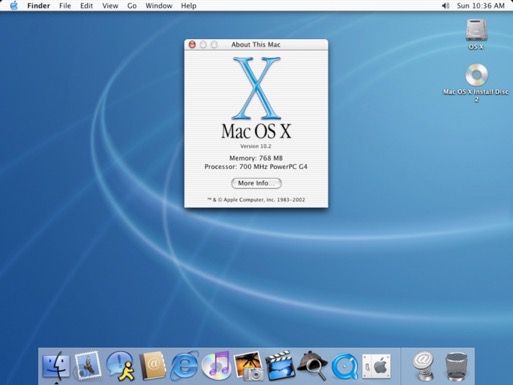
The is an original 700 MHz iMac. This model was available with a standard 256 or 512 Megs of RAM. This one came with 256 Megs. With the 512 Meg stick my friend installed, this iMac has 768 Megs.
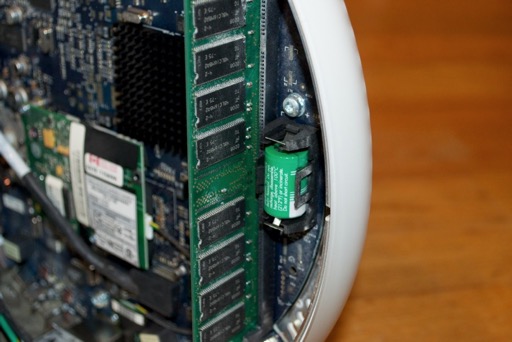
Now’s also a good time to check the PRAM battery. I checked it and it was still 3.64 Volts. Good to go.
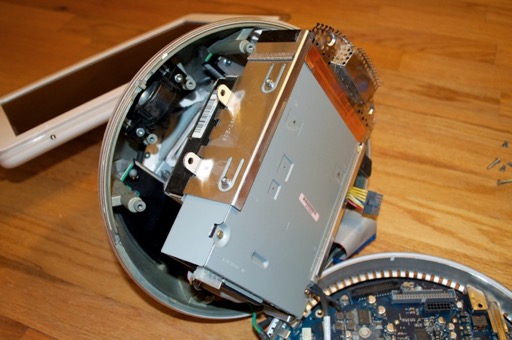
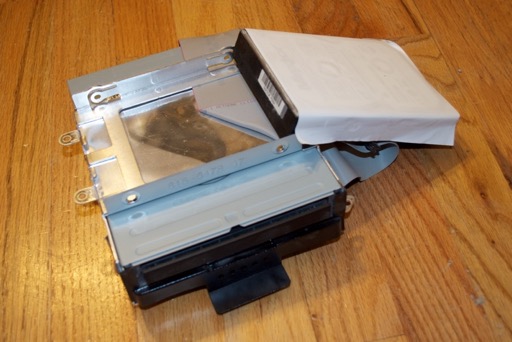
Moving right along, let’s get to that hard drive. It’s tucked away neatly under the optical drive. So the entire drive assembly will have to be removed. Start by removing the ribbon and power cable from the logicboard.
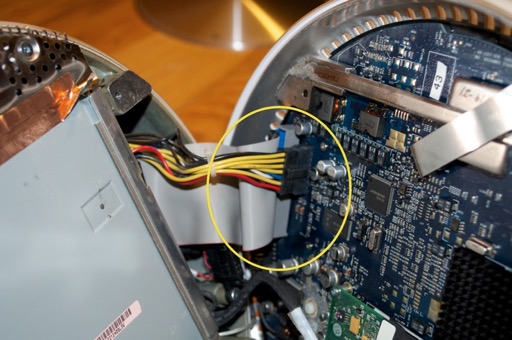
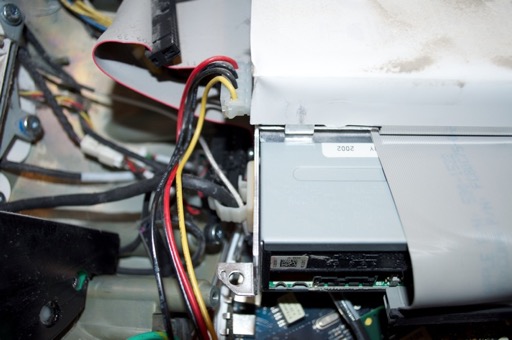
Only disconnect those 2 cables, don’t remove the other grounding cables or anything else. Once the drive caddy has been disconnected, remove the 6 screws that hold it in place.
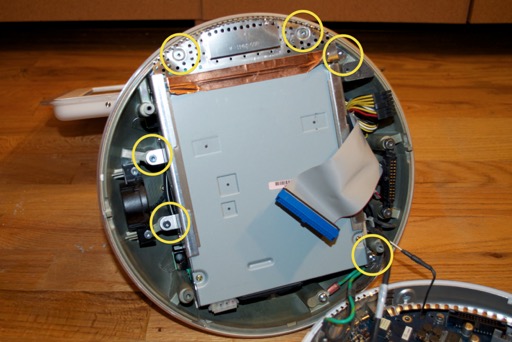
It’s a little tricky getting the drive assembly out so you’ll have to wiggle it a bit. Be careful not to damage any of the other surrounding wires.
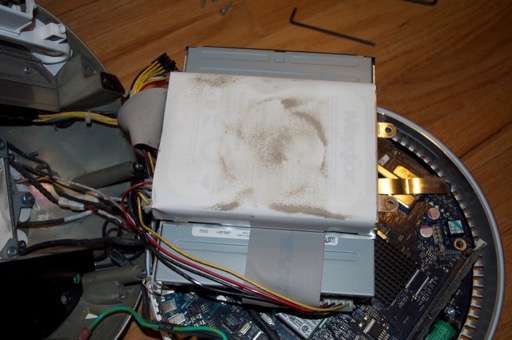
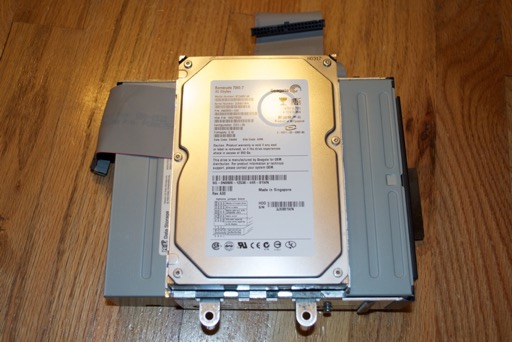
The hard drive is screwed to the top of the optical drive. Wow, more dust.
Remove the molex connectors from both drives. They were very tight and were really hard to get out. I almost broke all my nails.
Once the power cables have been disconnected, you should be able to remove the entire drive assembly.
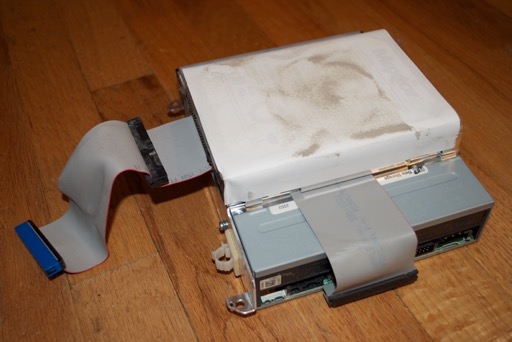
Remove the 4 screws that secure the hard drive. It’ll slide right out.
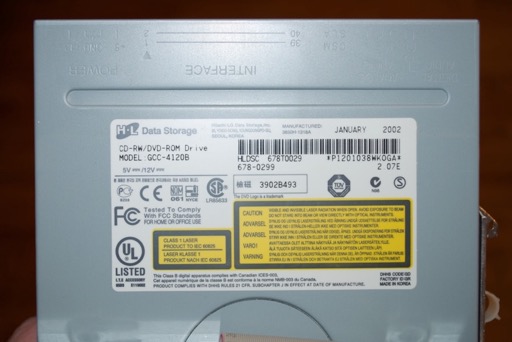
Once the hard drive was out I was able to determine what kind of optical drive I have. The base model shipped with a CD-RW. A combo drive and Superdrive were also available as upgrades. This drive is a combo drive. It can burn CDs, but can only read DVDs. Not that I’ll ever need to burn a DVD on it.
This iMac shipped with a 40 Gig hard drive. What good is a 40 Gig hard drive in a modern computer? See, this is why you never throw away a hard drive. No matter how small. You never know when they’ll come in handy. I just happen to have a spare 40 Gig drive at the ready. I screwed it into the drive assembly and put the iMac back together.
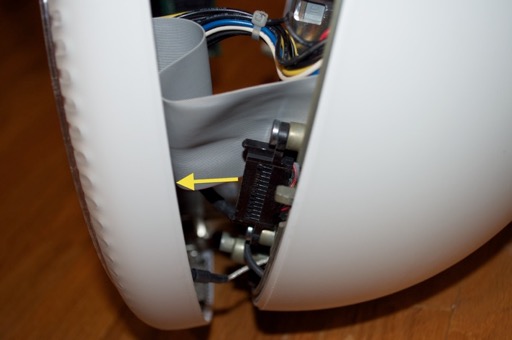
One note, just make sure when you put everything back together that you keep the wires clear of this black connector. It needs to match up and engage the matching socket on the logicboard. So make sure it snaps back in nicely when you put the base back on.
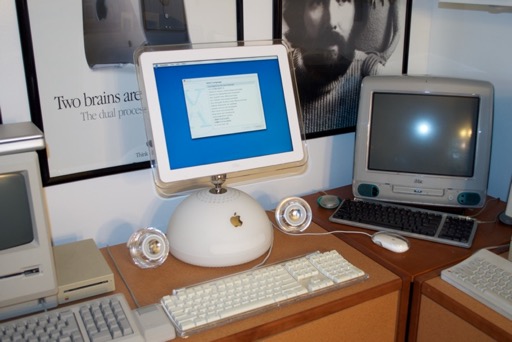
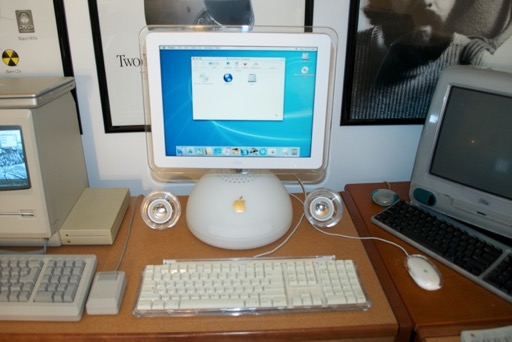
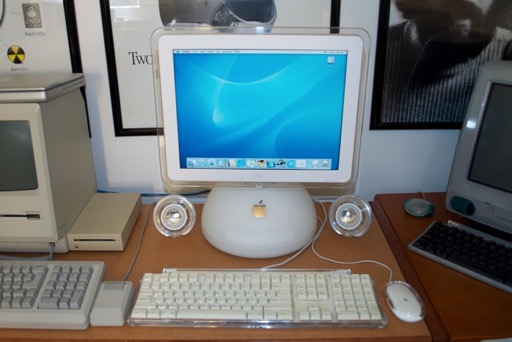
Once everything was back together, I took some alcohol wipes and cleaned the whole thing off. It looks as good as new. I made some space for it and connected everything. It looks awesome.

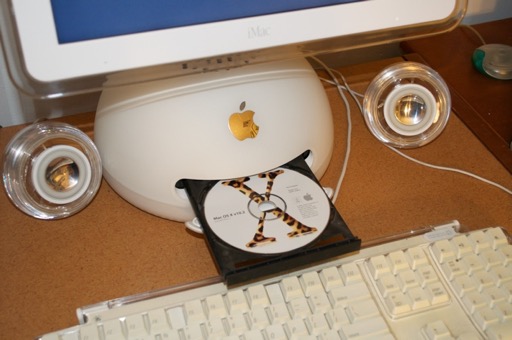
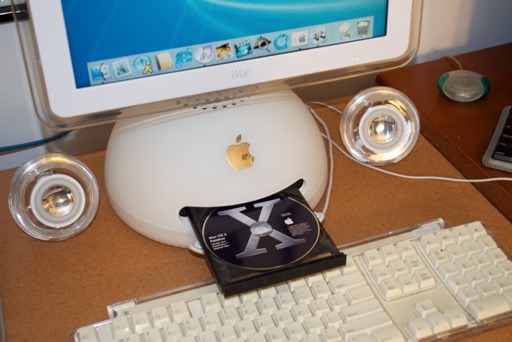
OS X Time. I want to put Tiger on it, but it might be overkill. With only a 700 MHz G4 and 768 Megs of RAM I don’t know how slow the machine will be. Maybe I’ll jut stick with Panther. I popped in the CD and powered on the iMac. Strange, it didn’t boot off the CD. I restarted the iMac holding down the option key.
That explains it. “Mac OS X Upgrade CD”. The Panther CDs my friend gave me are upgrade CDs, so I can’t start off with those. I didn’t notice that it said that right on the CD. I’ll have to put 10.2 on there and upgrade to 10.3.
I popped in my 10.2 disc and let ‘er rip.
We’re off to a good start.
I used Disk Utility to partitioned and format the 40 Gig drive.

And then proceeded with the installer.
OS X 10.2
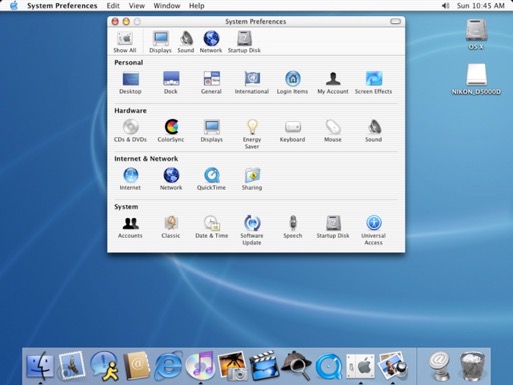
I took a couple of minutes to poke around.
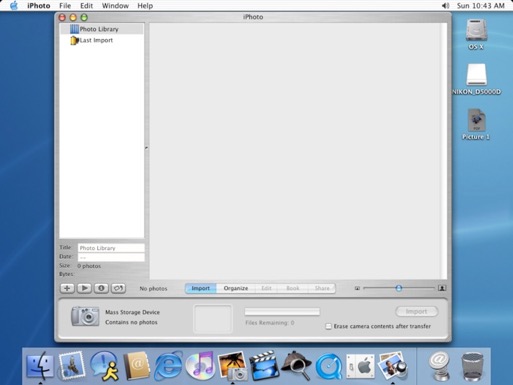
Gotta love the old school iPhoto and iTunes.

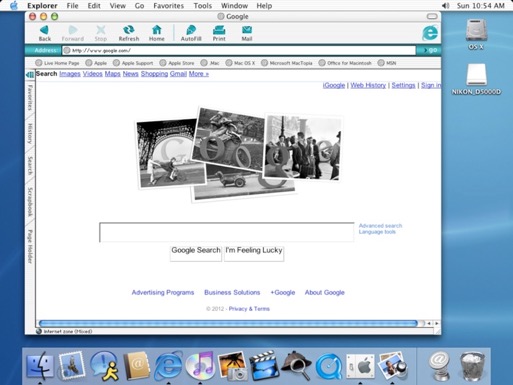
Internet works. IE. That cracks me up every time. And yes, it crashed trying to get to Apple.com.
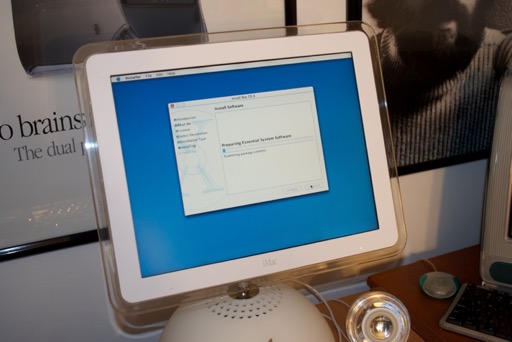
On with the upgrade to 10.3. I popped in the 10.3 upgrade CD....
...and pressed Restart.
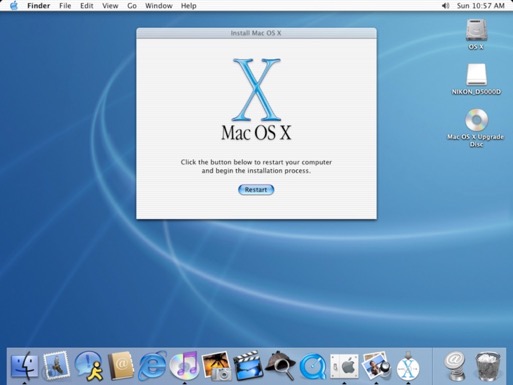
Again, off to a good start.
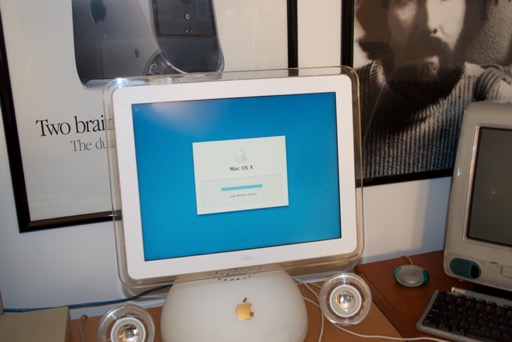
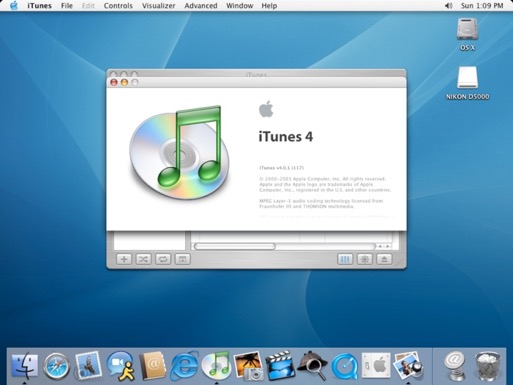
And BOOM! 10.3.

Out with the purple note and in with the green. iTunes 4.
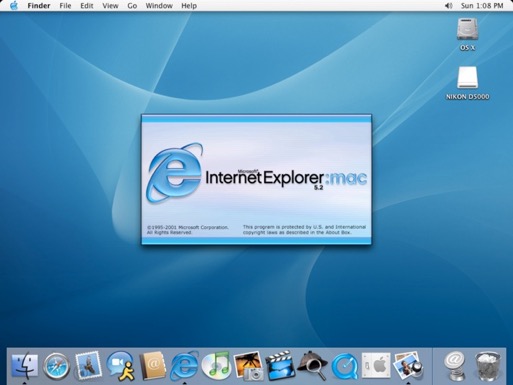
Wow, IE’s still the browser of choice? Jobs wasn’t kidding about Safari being “ice water in hell”.
I ran a software update to bring the OS to 10.3.9.
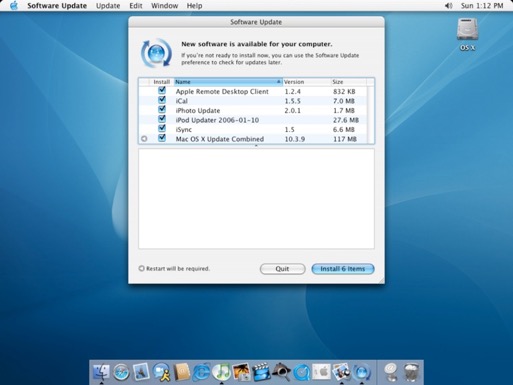
Overall, it runs pretty smooth. Maybe I’ll just keep it at 10.3 and upgrade to 10.4 when I need it. The machine maxes out at 1 Gig of RAM, so if I ever get my hands on a 512 M stick of PC133, I’ll swap it out with the 256 M stick.
Now that everything works, all that’s left to do is restore the keyboard. That’s a big job, so it’s worthy of its own post.