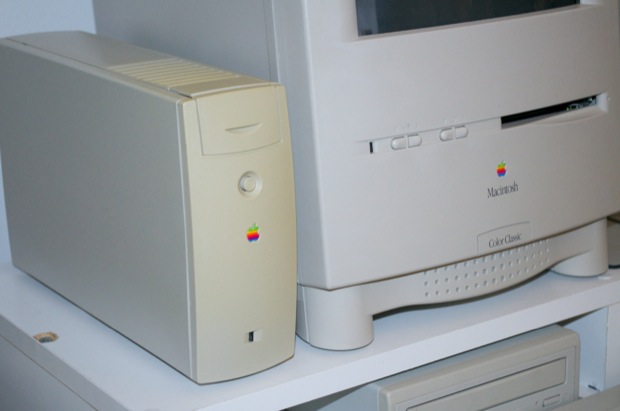
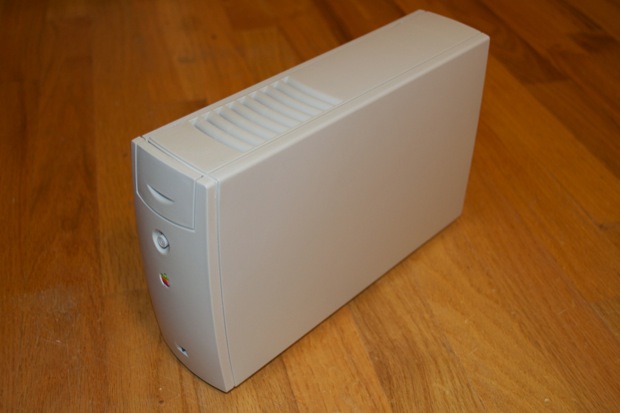
The awesome
M2115 drive that I received a few days ago is begging for a retr0brite session. Just look how yellow it is compared to my perfect Color Classic.

It’s nice and sunny outside today. It’s the perfect weather for retr0briting. Let’s get to it.
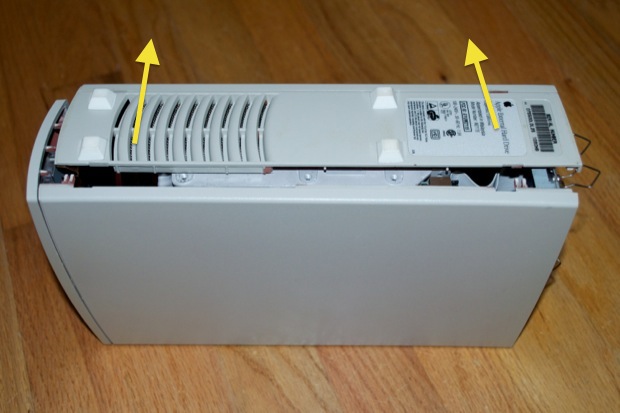
First, take the cover off by removing the two back screws.
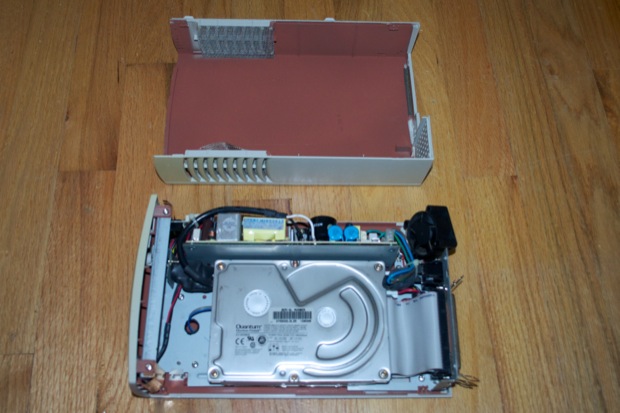
Then separate the two halves.
With the cover off, remove the two screws that secure the front panel.
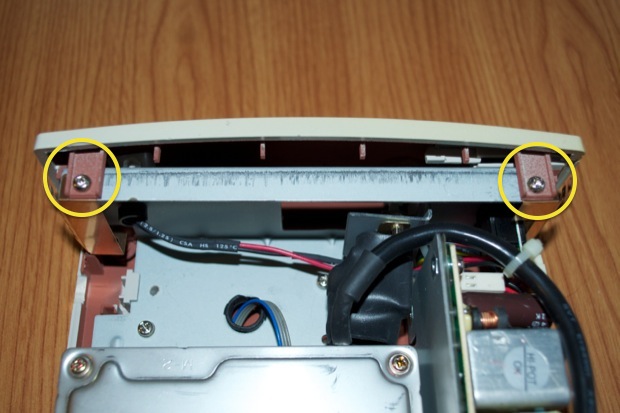
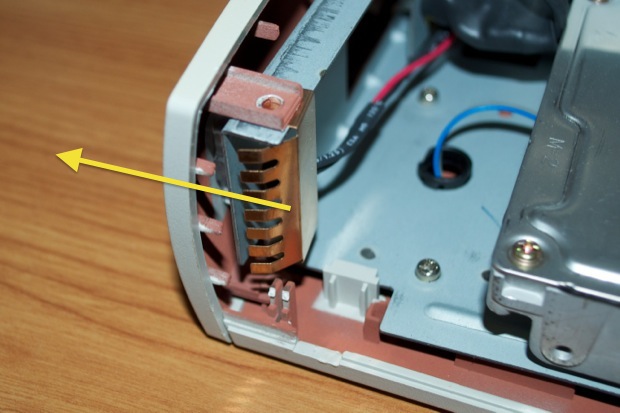
Once those two screws are out, remove the ground plates from both sides:
The front panel is secured by a “peg in a hole” at either end.
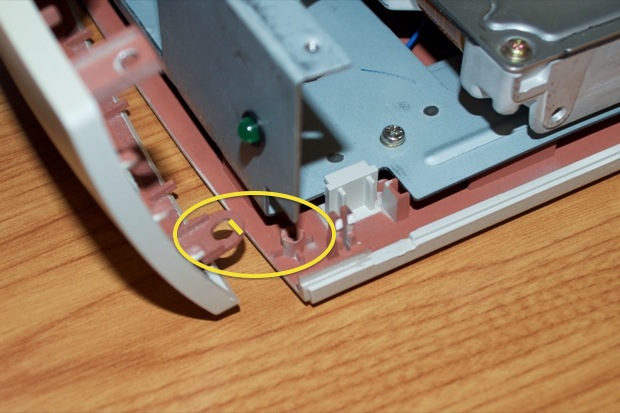
Just lift it up and out.
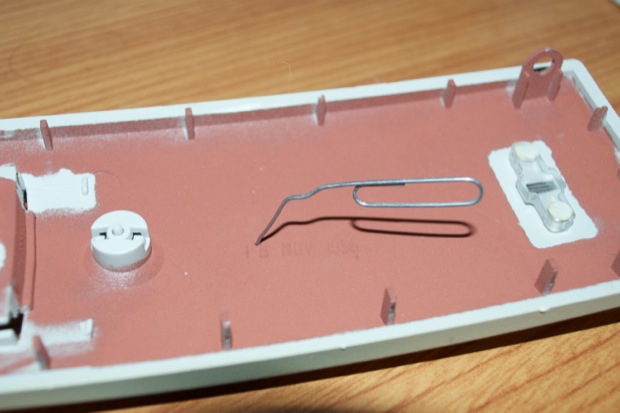
Take a small paperclip and push it through the hole on the reverse side of the front panel to pop out the Apple badge.
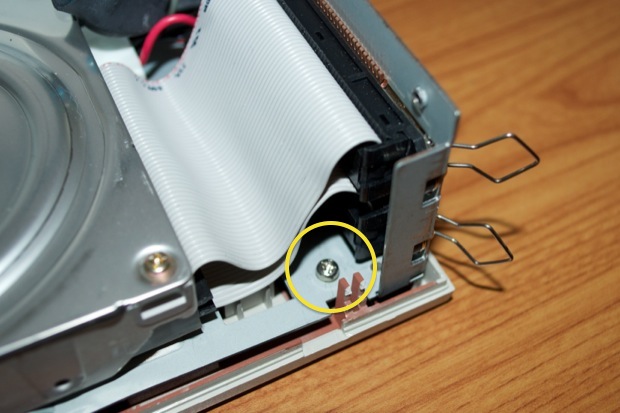
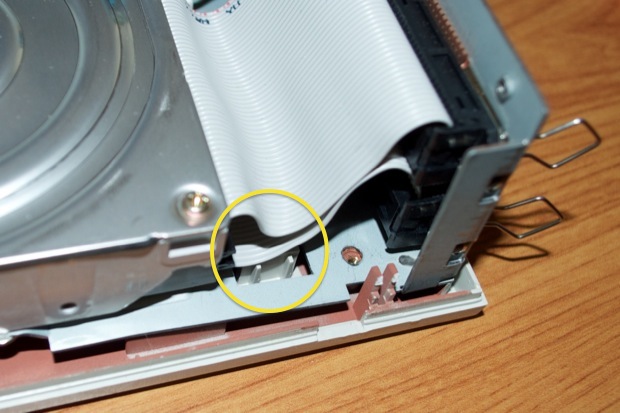
Back to the assembly, remove the screw from the chassis that is by the hard drive ribbon...
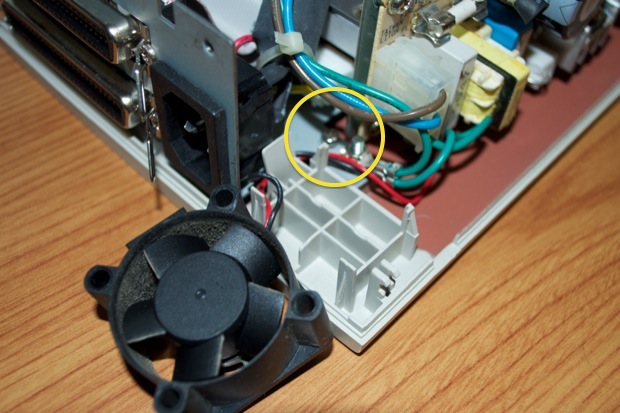
… the one by the fan...
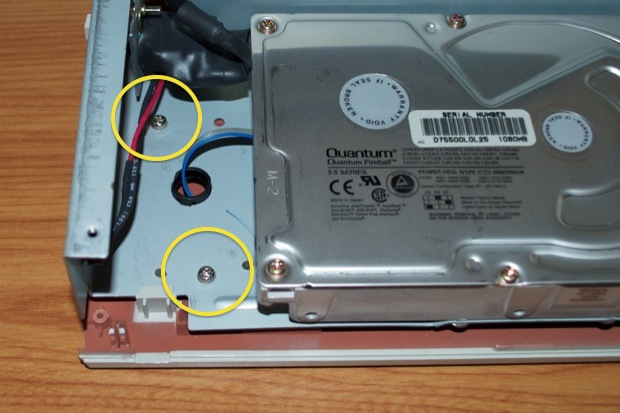
…and the two towards the front.
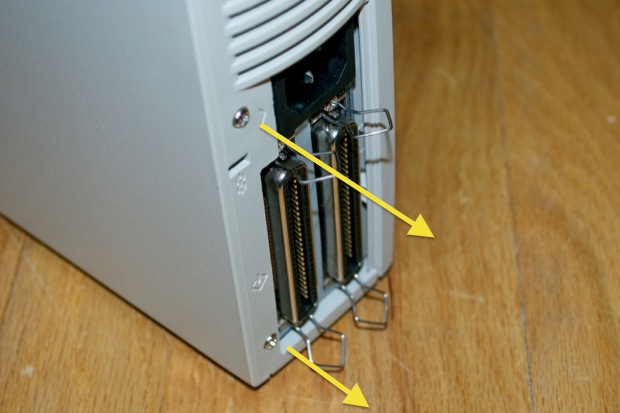
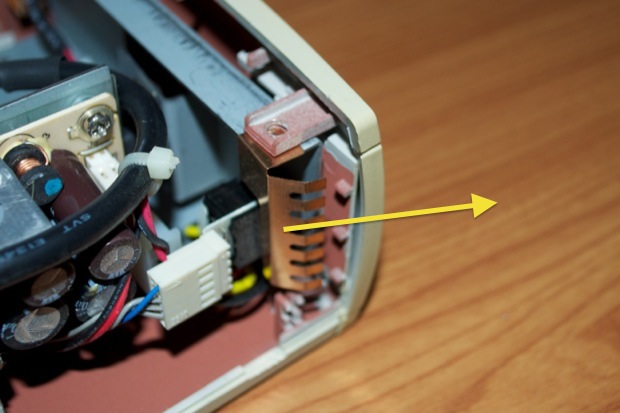
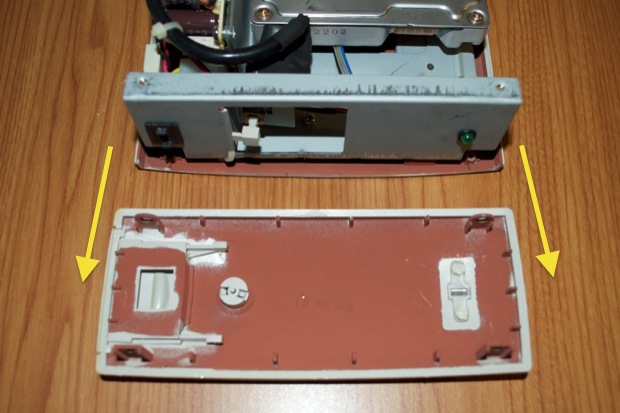
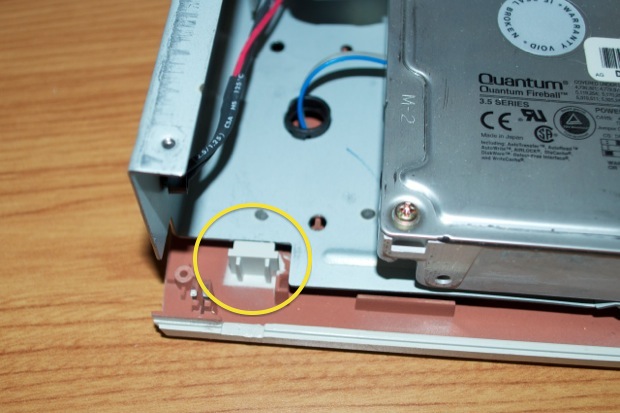
That should disconnect the chassis from the housing. Just slide the chassis out from underneath these two clips:
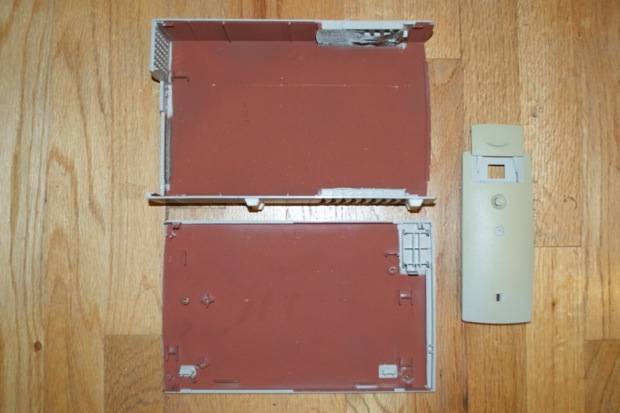
Once the chassis is free off the clips, just slide the whole assembly out.

And that’s it. All ready to go.
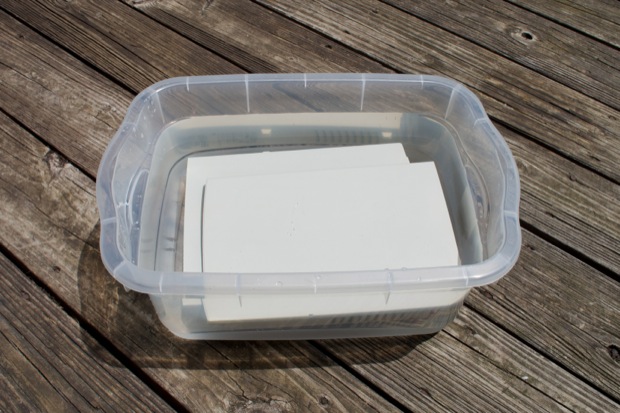
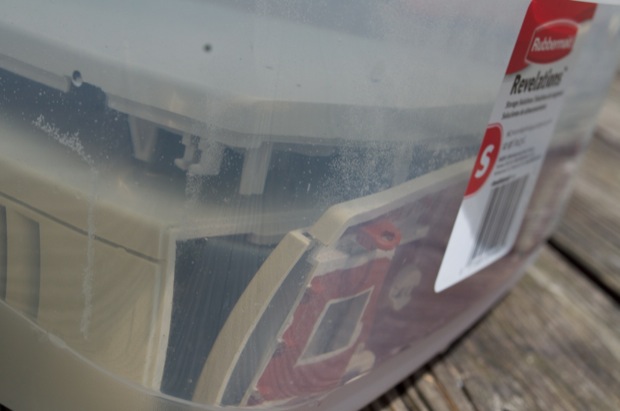
I placed the parts in a bucket and filled it up with enough water to submerge everything.
I added peroxide and Oxy and let it soak in the sun for a few hours. They kept floating to the top, so I had to weight them down with a cup of water. It worked.
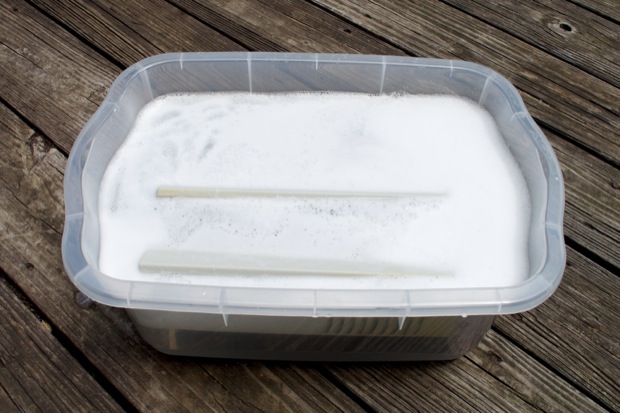
Look at that Oxy bubbling action!
Wow, what a difference! After just a few hours in the hot sun, it’s as good as new. Here’s some before and after shots:
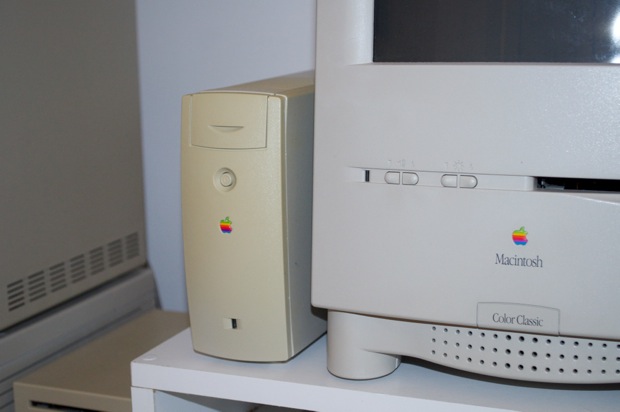
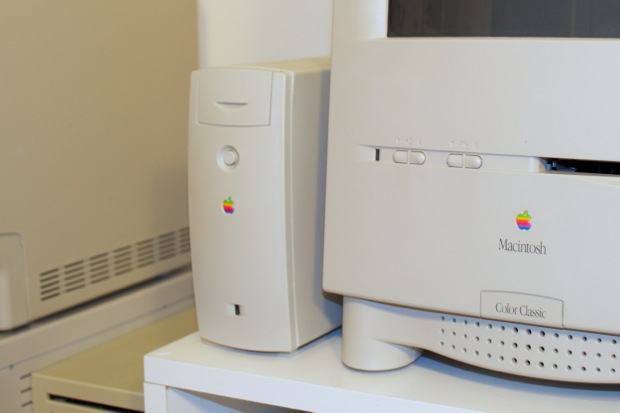
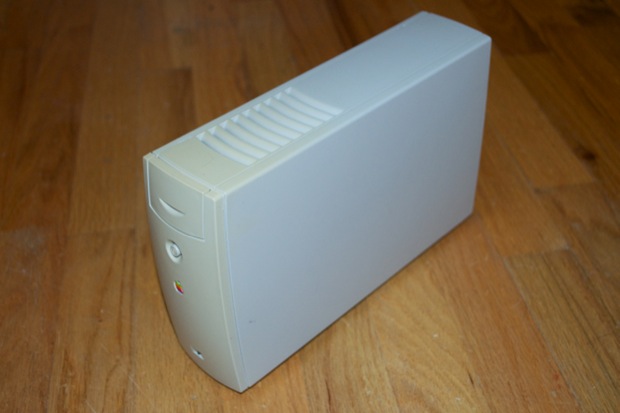
What a great find. I’m very happy with the results on this one. It looks so good next to the Color Classic.