I picked up my
Macintosh TV five months ago for $300. That’s a lot of money, but after watching eBay for a good year, I knew that Macintosh TVs usually go for a good $800. I took the gamble betting $300 on a Macintosh TV in “unknown condition” with the hopes that it would work “as-is”.
See, this is why I’m not a betting man. The Macintosh TV was DOA. I assumed it was the logicboard considering there was some apparent electrical damage to the TV tuner card.
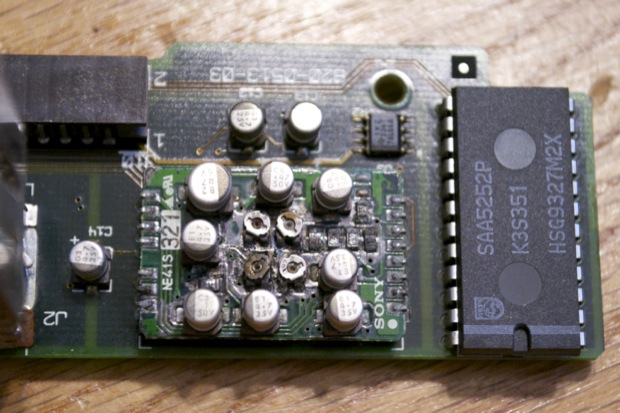
Under the TV tuner card was a lot of grime that appeared to either be the result of leaky caps. Leaky caps or not, I figured if the TV tuner card was toast from an electrical surge, then the logicboard probably went with it. I hung onto hope that the analog board was still OK.
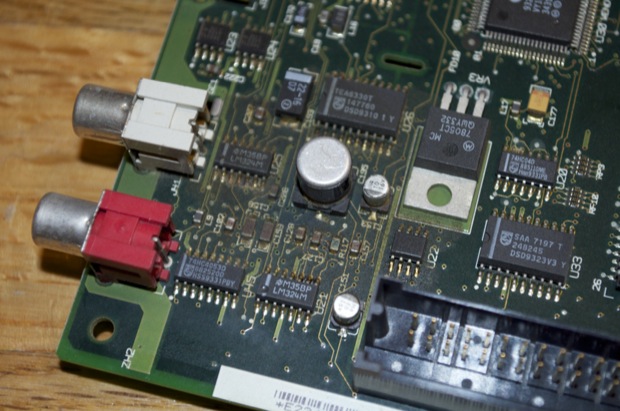
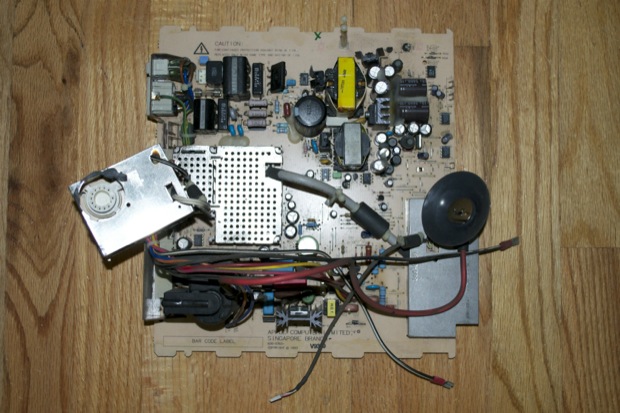
I managed to score another analog board on eBay. Again, in “unknown” condition. It had been sitting on a parts shelf for 15 years and was “assumed” to work since it was “assumed” that it was kept on the parts shelf because it was working when it was pulled from a machine. You know what they say about “assume”? Needless to say, the board too was DOA.
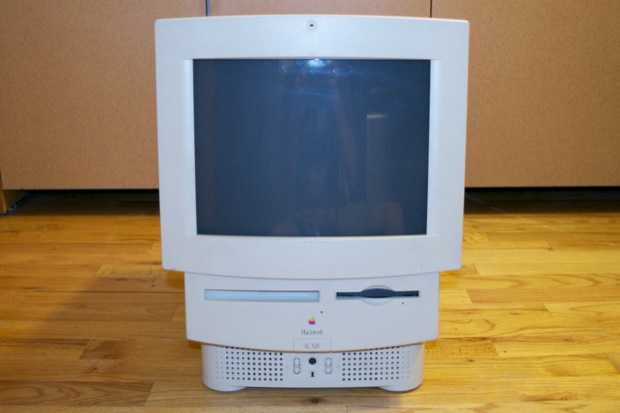
After some more eBay sleuthing, I managed to score an
LC 520 for $5. Again,”unknown condition”. The seller didn’t have a keyboard, so he could’t power it on. For $5 bucks and local pickup (read: free shipping), I figured it was worth it.
I pulled the analog and logic boards out of it and popped them into the Macintosh TV. Unfortunately, that analog board was dead too. So there was no way for me to know if the logicboard was OK or not. Searching online revealed that the green power LED should come on with a good analog board. Using both logic and analog boards, the Macintosh TV and LC 520 both appeared to be as dead as a doornail.
If you’re still counting, that’s one dead Macintosh TV, one dead LC 520, and one dead analog board.
Already $410 in the hole and no working machine, I figured it wasn’t about the money anymore. It was about getting this machine working so that it’s not a complete loss. I’d rather spend $500 on a working machine, than spend $400 on a brick.
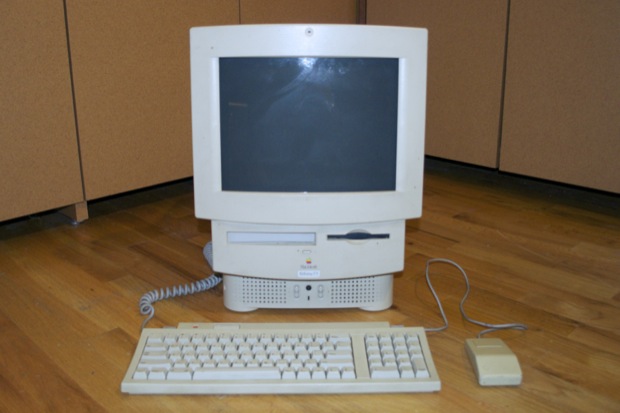
I watched eBay some more and managed to finally score a
Performa 575 for $60. It’s in working condition.
I figured between the three machines and the extra analog board, I could finally get the Macintosh TV up and running. It might not be a “true” Macintosh TV, more of a FrankenMac, but it’s all about the black enclosure!
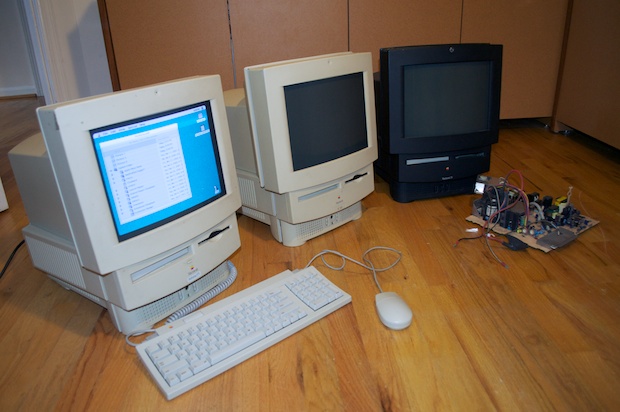
With a working machine, I should be able to use it as a test bed to determine if the LC 520 and Macintosh TV really do have dead logicboards, or if it’s really just a whole bunch of dead analog boards.
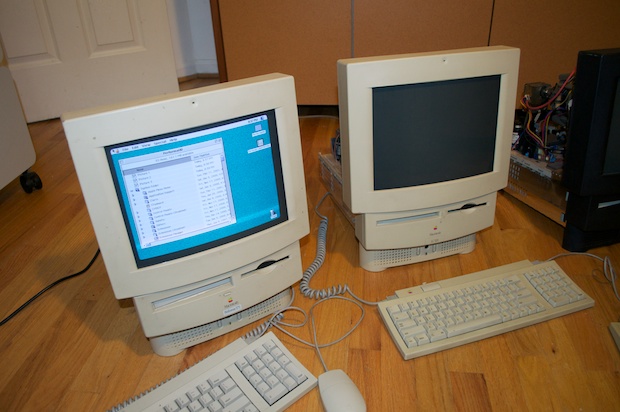
LC 520 on the left, Performa 575 on the right.
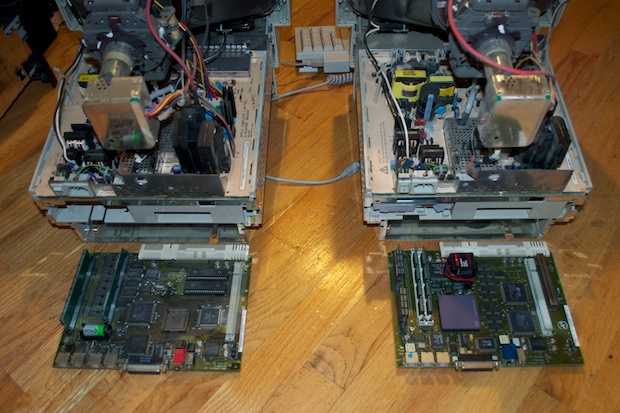
I popped the LC 520 board in the Performa 575 and the machine started up. Looks like a working logicboard to me. It would’t boot all the way to the Finder because the OS on the hard dive isn’t compatible with the board. At least that tells me that the analog board in the LC 520 is definitely dead. Since the LC 520 logic board doesn’t work in the Macintosh TV either, then the Macintosh TV analog board is dead too.
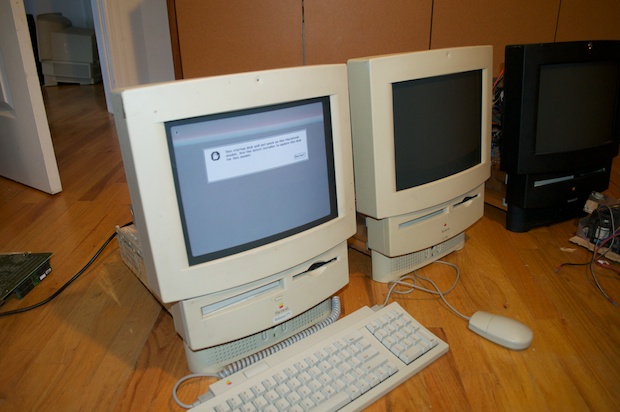
But what about the Macintosh TV logicboard? I figured it was toast, but it was worth a shot. I popped it into the Performa 575 and crossed my fingers.
Nothing. Oh we’ll, it was worth a shot.
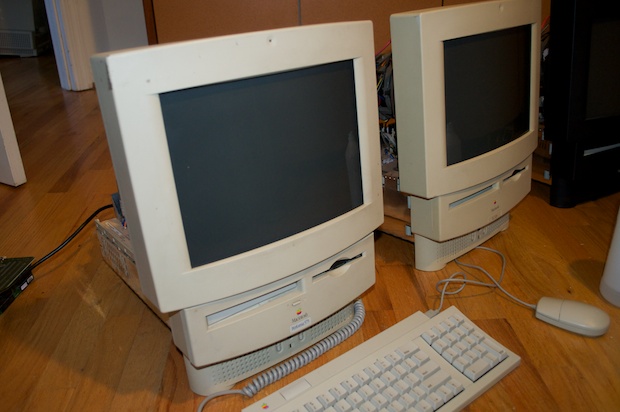
I put the Performa 575 board back in and powered it up. It’s still good. Putting the defective Macintosh TV board in the Performa 575 thankfully didn’t kill anything.
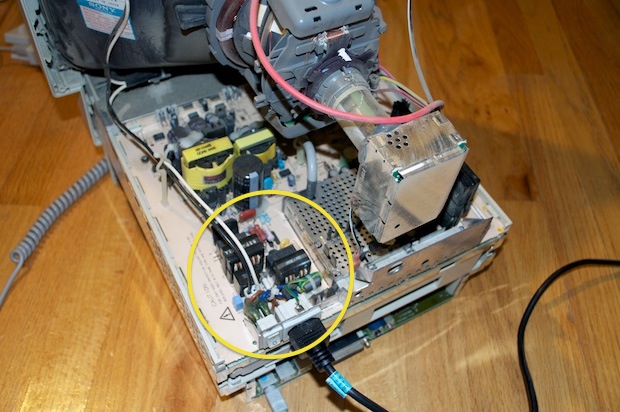
I started poking around the analog board with my volt meter. Everything in the circled area seems to put out anywhere between 40 and 60 volts.
Same on the LC 520.
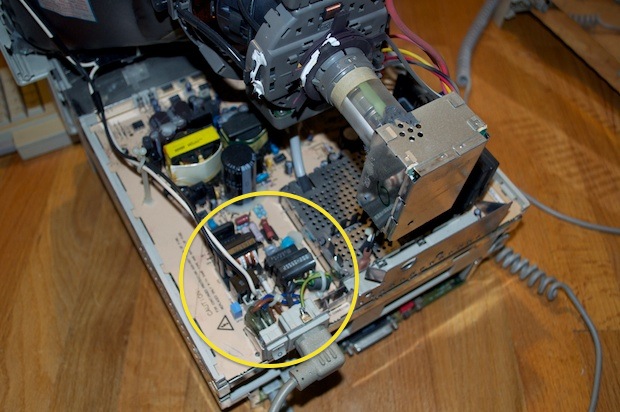
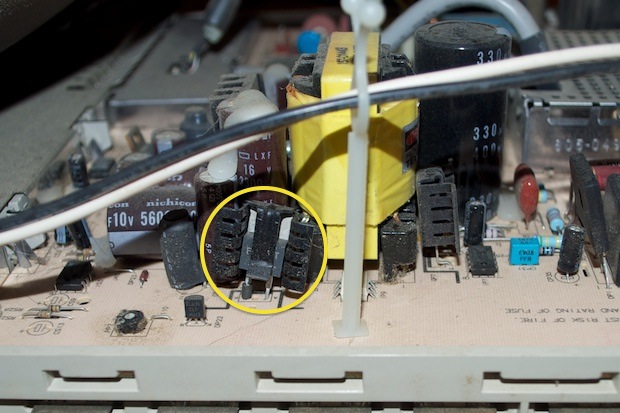
Once I got to the regulator that’s circled below, the voltage on the LC 520 dropped to a trickle. It was 5V on the Performa 575. It’s hard to follow the trace since everything in there is so tight. I didn’t want to poke around anymore in there since it’s pretty tight and I didn’t feel like getting zapped since I was home alone. At that point, I’d sooner chalk the boards up as a loss. I found where the voltage stops, but there’s no telling exactly what component failed. It could be the transformer, could be the caps. The only way to truly tell is to pull the boards completely out and run them hot. Again, I don’t feel like having the yoke just dangling out there live just waiting to zap me with 10,000 volts.
OK, let’s do this thing. I’m going to pull the analog and logic boards out of the Performa 575 and put them in the Macintosh TV.
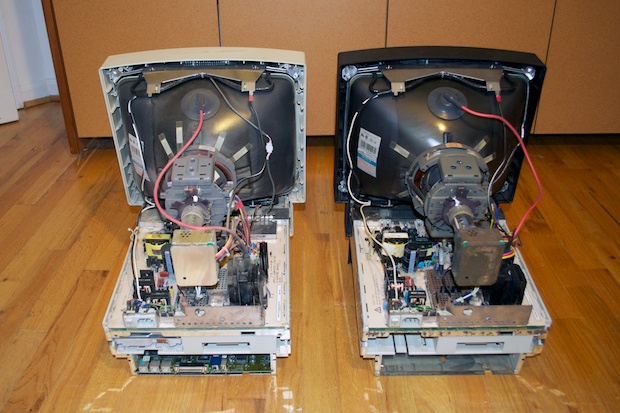
Start by discharging the CRTs. (Shouldn’t have to, but I always do anyway.)
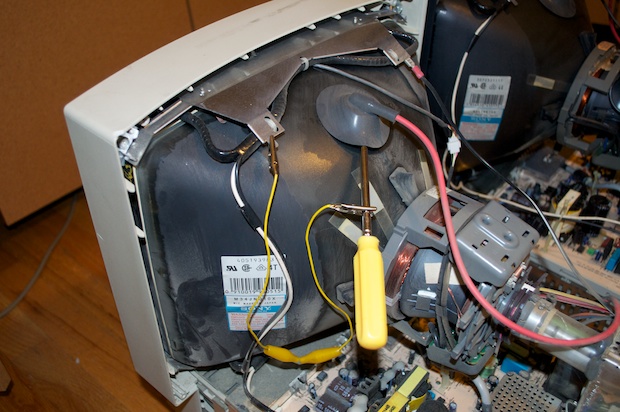
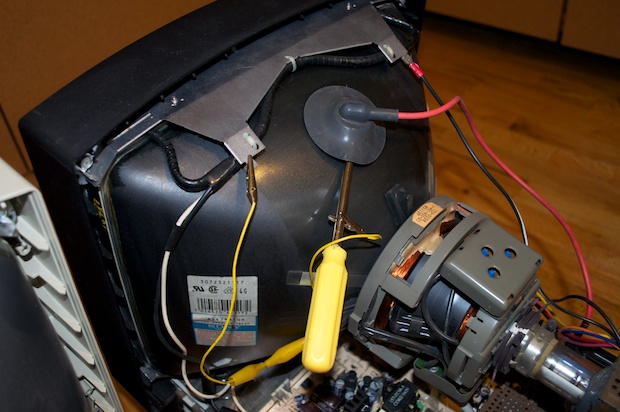
Disconnect the degauss panels.
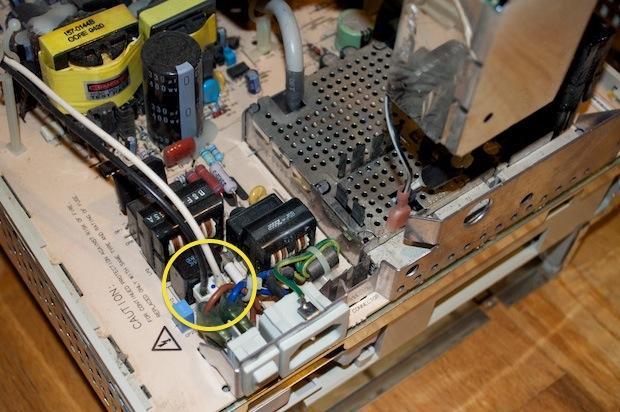
Disconnect the CRT power connector.
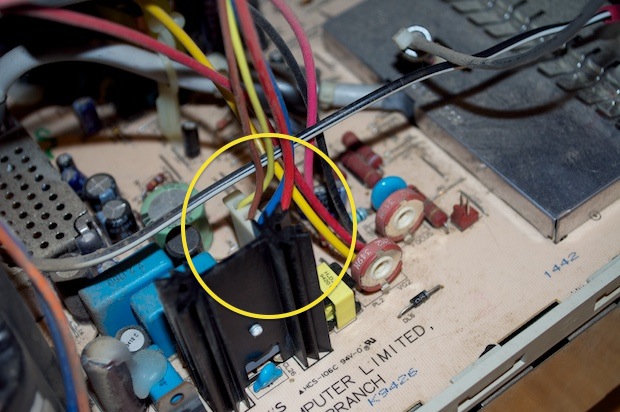
Disconnect the ground connector leading to the bottom degauss panel.
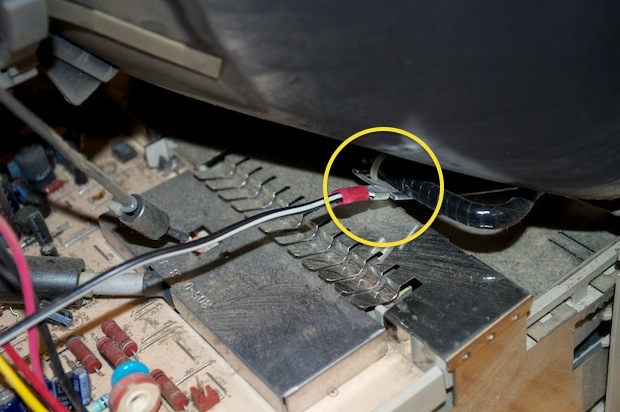
Disconnect the mic.
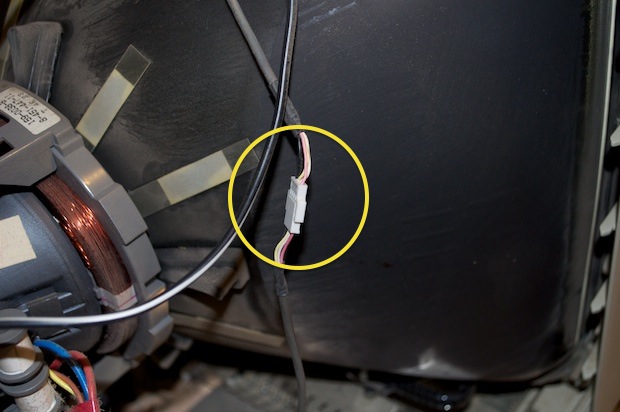
Disconnect the yoke and the ground connector leading to the top degauss panel.
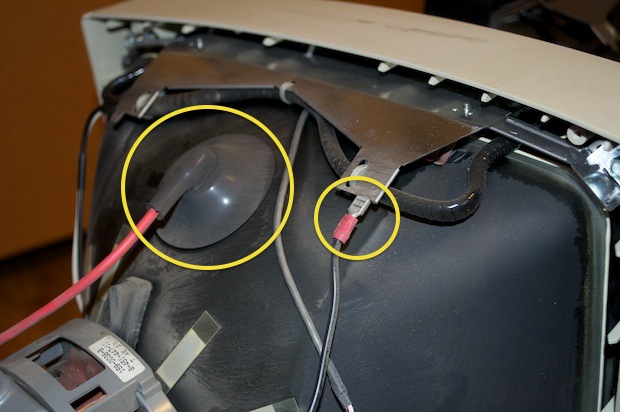
Pull off the CRT board assembly from the back of the CRT.
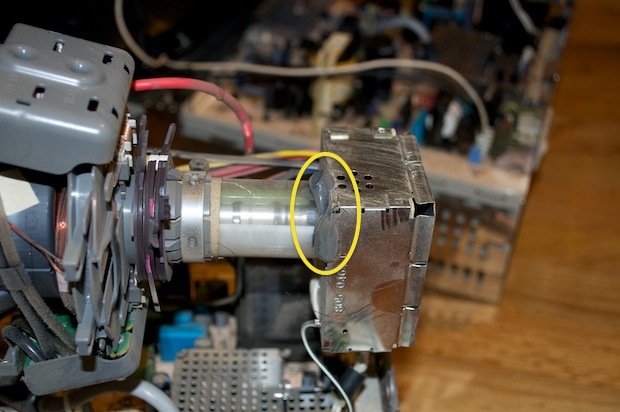
You might have to take a blade and slice through the rubber cement.
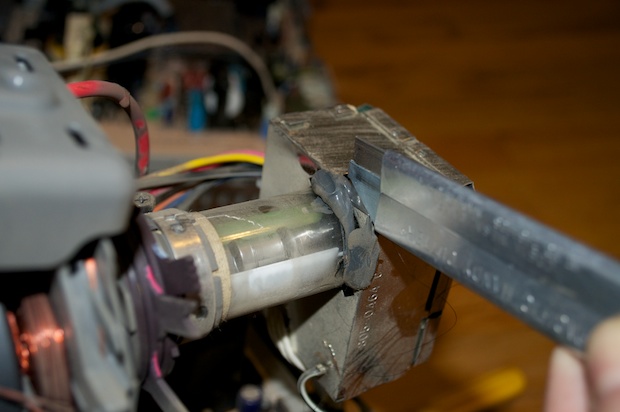
Once the rubber cement is off, the box will slide right off the CRT pins.
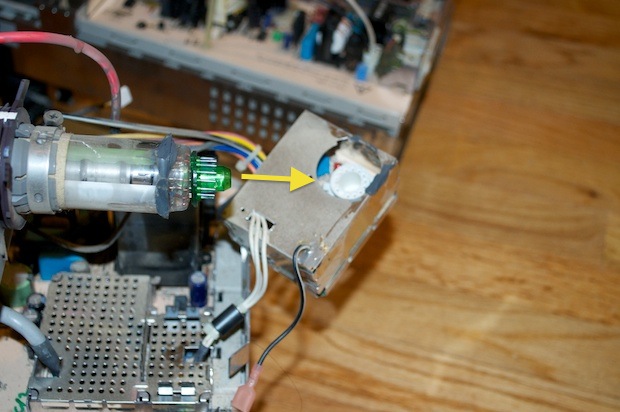
With the CRT completely disconnected, the analog board will slide right out of the cage.
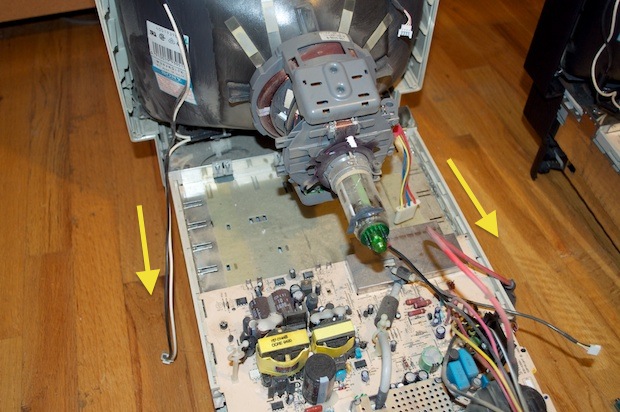
Moving over to the Macintosh TV, repeat the process: disconnect the degauss panels.
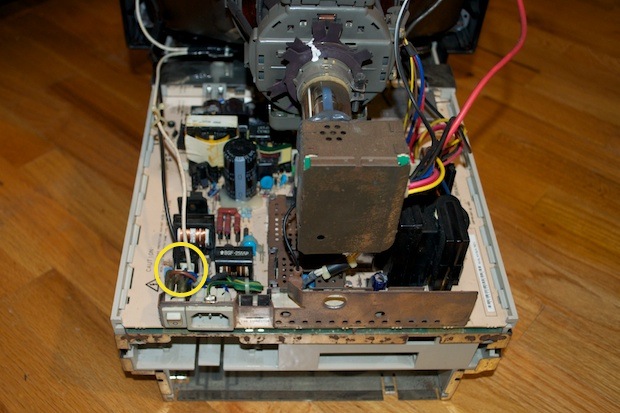
Yoke, ground, IR Receiver.
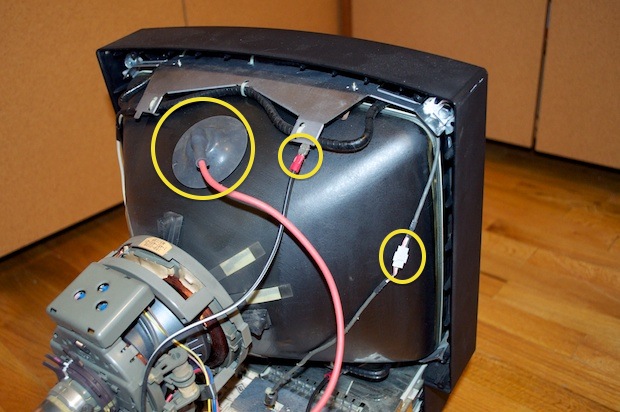
Ground.
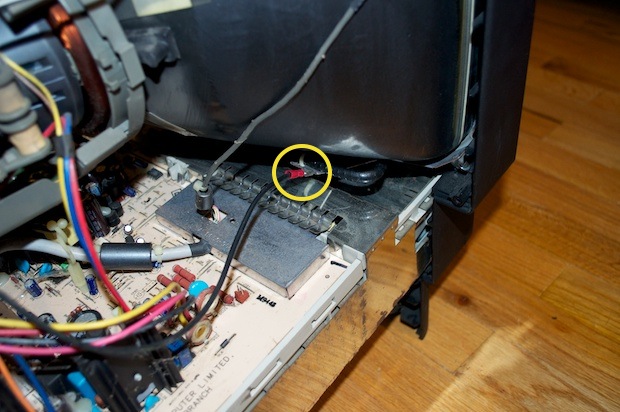
CRT Power.
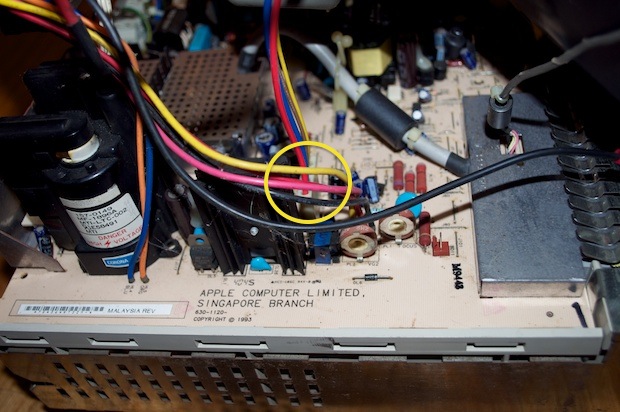
CRT board assembly.
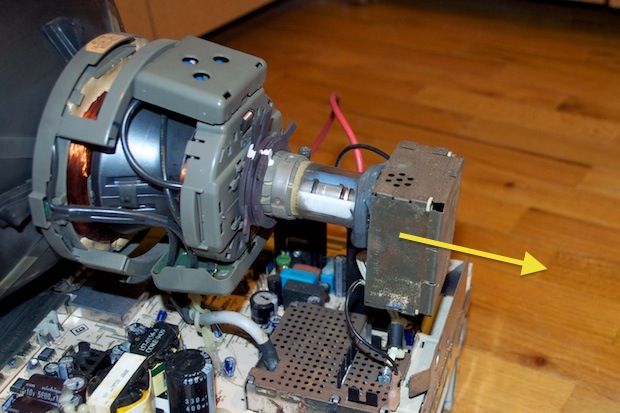
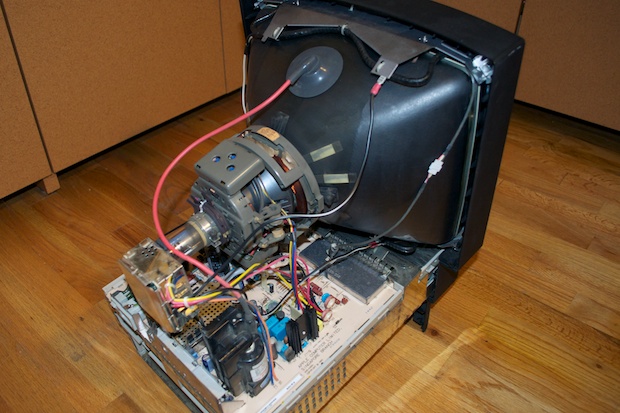
With the analog board removed from the Macintosh TV, the good board from the Performa 575 can now be inserted.
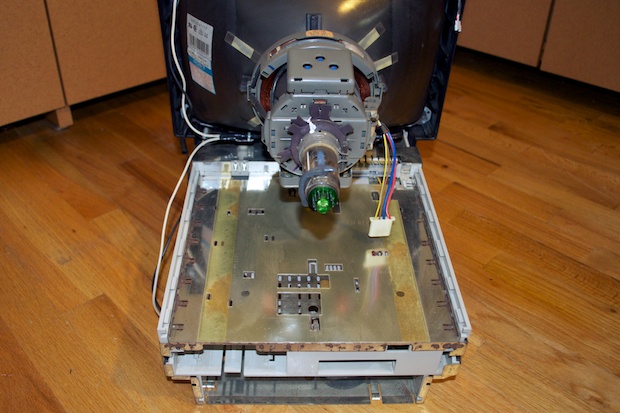
Slide the good board in...
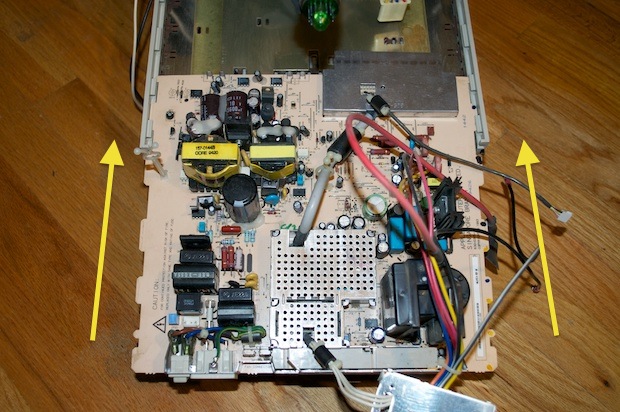
…and connect all the cables.
Slide the Performa 575 logicboard in.
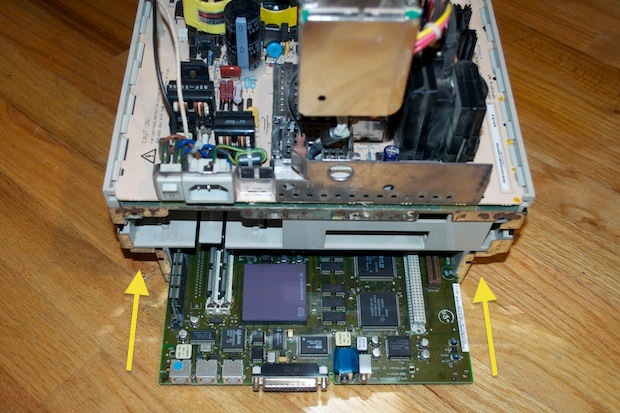
I tried to boot the machine up with the original 1GB Macintosh TV hard drive….
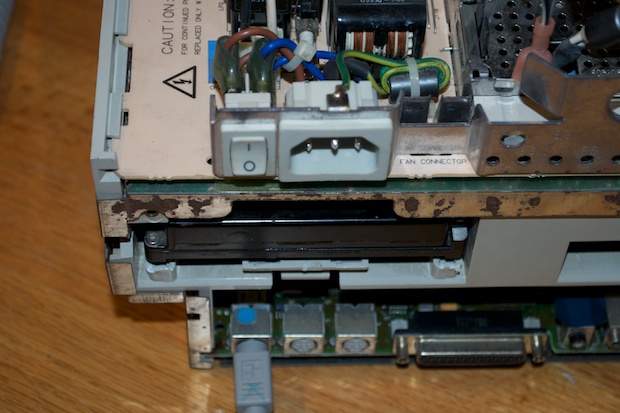
…but it appears to be dead. I don’t even hear it spin up. On the bright side, the analog board appears to be working!
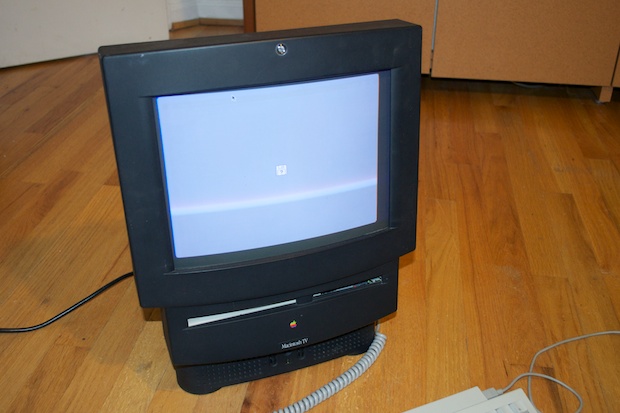
I have no choice but to move the Performa’s hard drive over too. It’s just as well, the OS is all set to go.
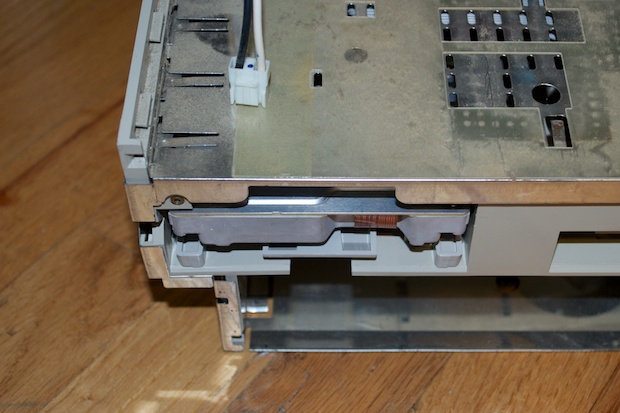
The drive will just slide right out.
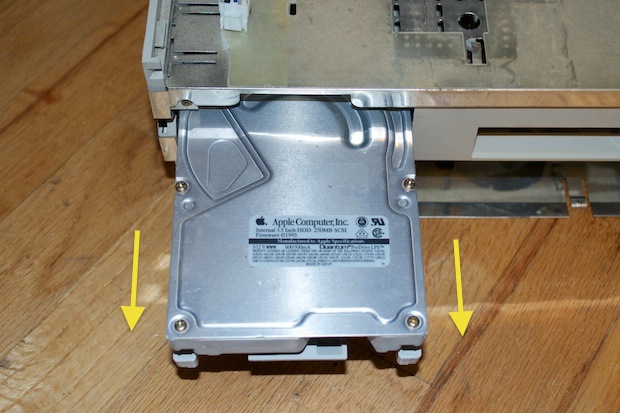
Slide it into the Macintosh TV...
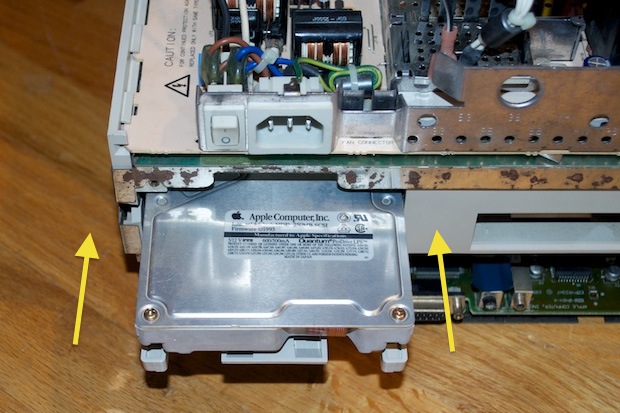
...and make sure it clicks.
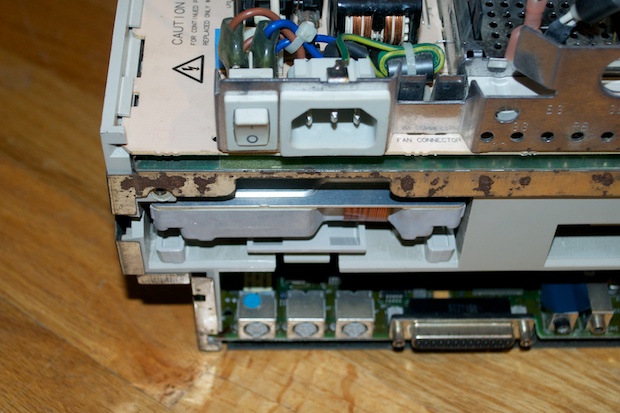
Cross your fingers!
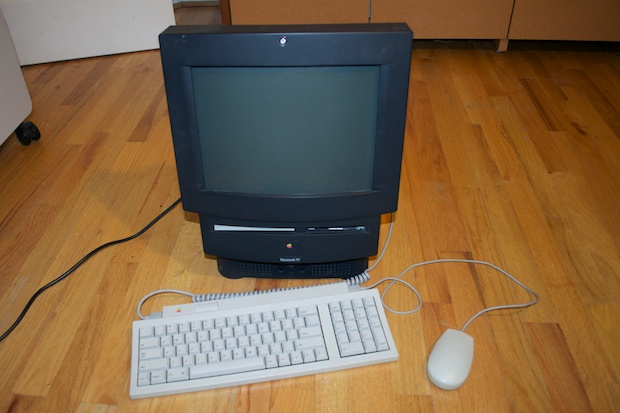
Green light! Woo hoo!
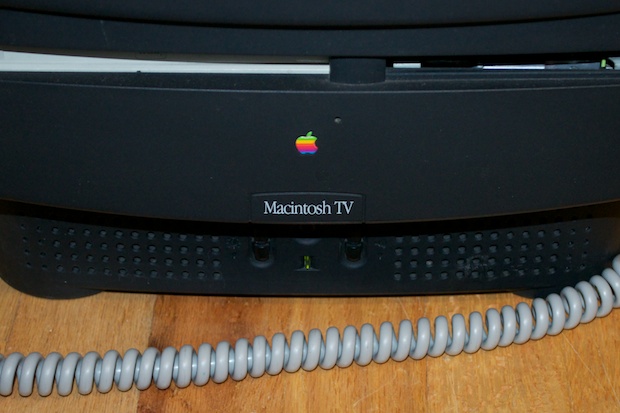
That is one working Macintosh TV. True, the Macintosh TV’s analog board was based on the 575, so I’m not completely cheating!
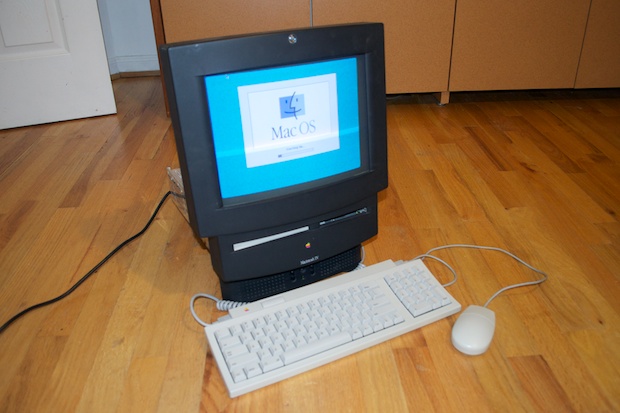
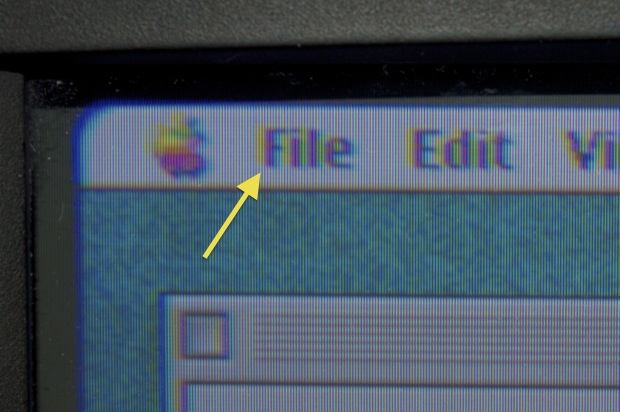
One thing I noticed right away is that the CRT, like the hard drive and the boards, is in bad shape. There’s some serious burn in. You can see the menu bar at startup.
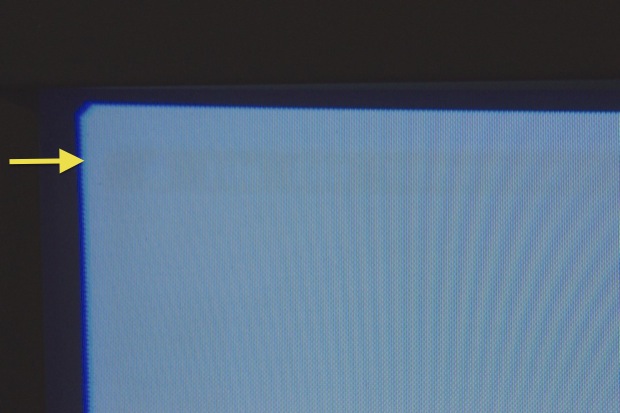
Once I was at the Finder, it was also apparent that the guns are misaligned and that all the colors do not line up. The whole display too isn’t even centered correctly. You’ll notice the slight tilt to the display and the fact that it’s jammed up in the top left hand conner of the screen.
Let’s try out the CD-ROM and the floppy drive. I popped a CD into the caddy and inserted it into the CD-ROM drive. Unfortunately, it just spits it right out. I tried a few other CDs, all original Apple CDs, and they all just split right back out. They do not mount on the desktop. I guess I can also add the CD-ROM drive to the growing number of failed components that seem to be pilling up.
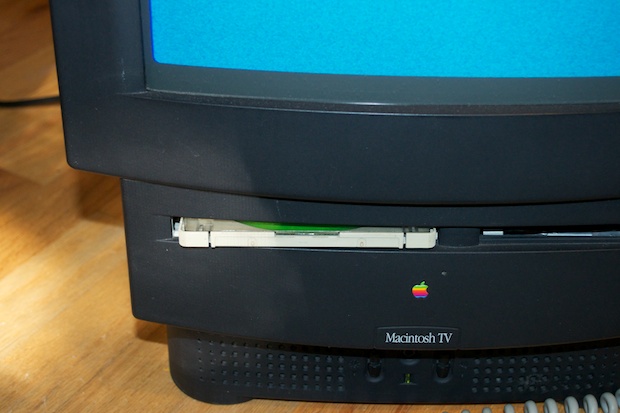
No luck with the floppy drive either.
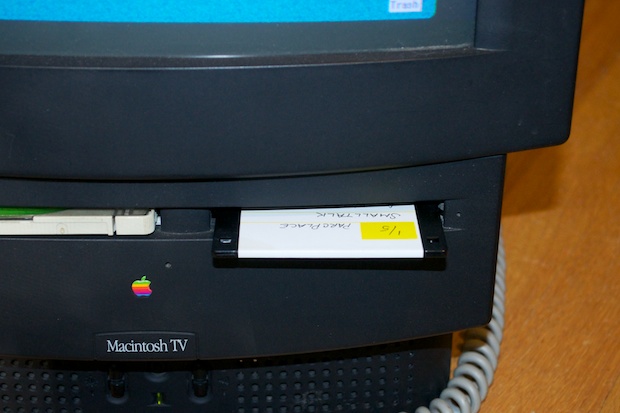
It’s a working disk. In fact, I just used this disk to copy the screen shots off the Performa 575 before I took it apart. The machine is complaining that the disk is unreadable.
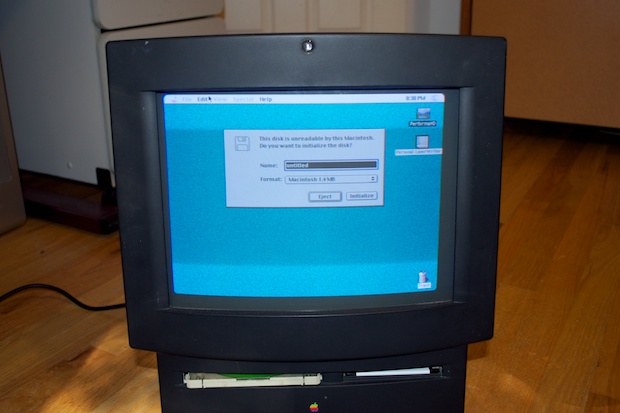
I clicked “Initialize” and let it do its thing, but the formatting failed!
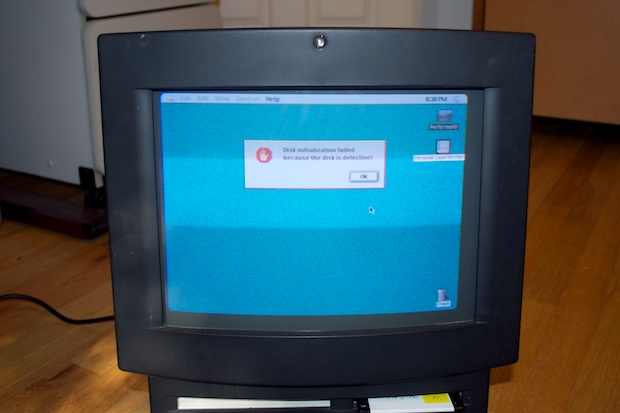
Does anything in this machine work?! Dead logic. Dead analog. Dead hard drive. Defective CD-ROM. Defective floppy. Defective CRT. You have to be kidding me! Did this machine get hit by lightning? I think I basically paid $300 for the enclosure!
I can’t even rob the CD-ROM drive from the Performa 575 since it uses a tray instead of a caddy. The slot openings in the bezels are different sizes.
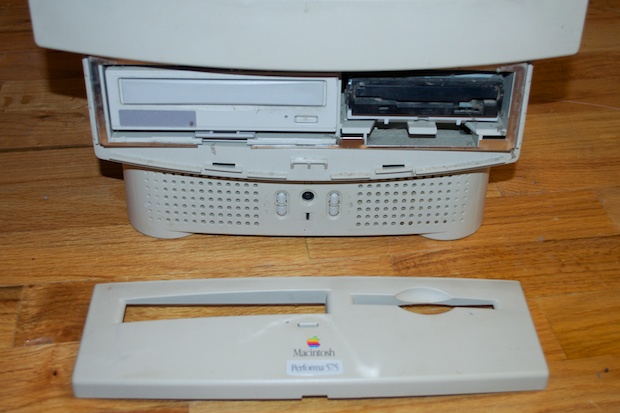
However, the LC 520 uses the same CD-ROM drive. I hope it works!
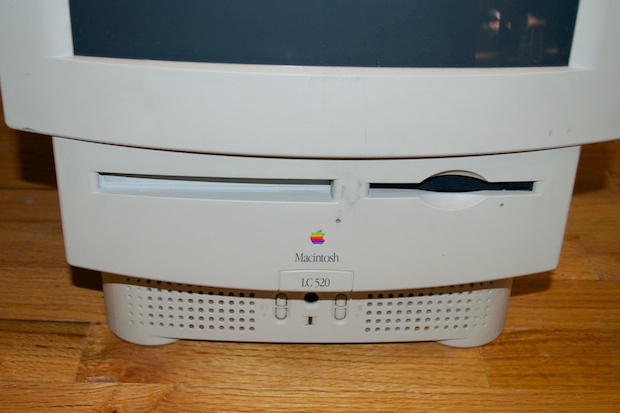
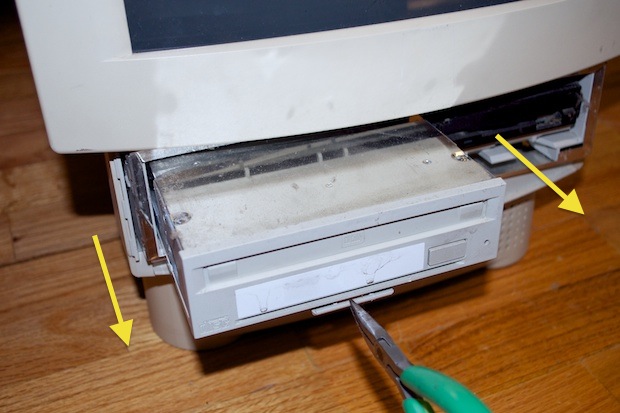
I popped the bezel off...
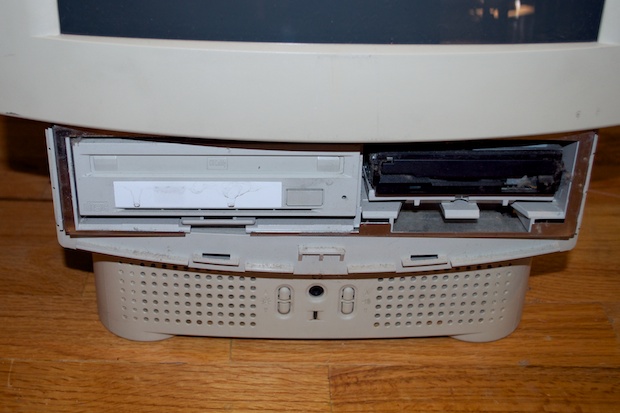
…and slide the drive out.
I’m going to swap the CRTs since I know the CRT in the Performa 575 looks great. It doesn’t make sense to start adjusting guns when the screen is already burned in.
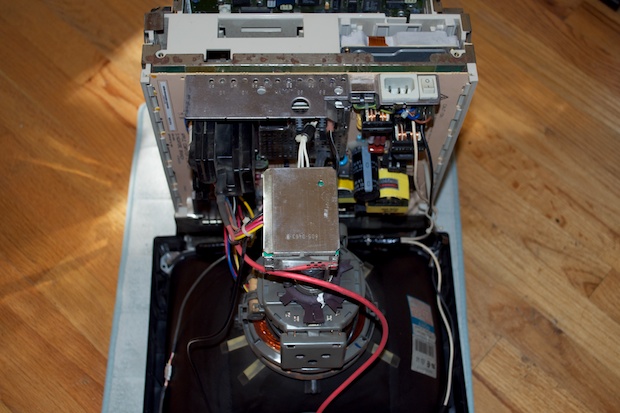
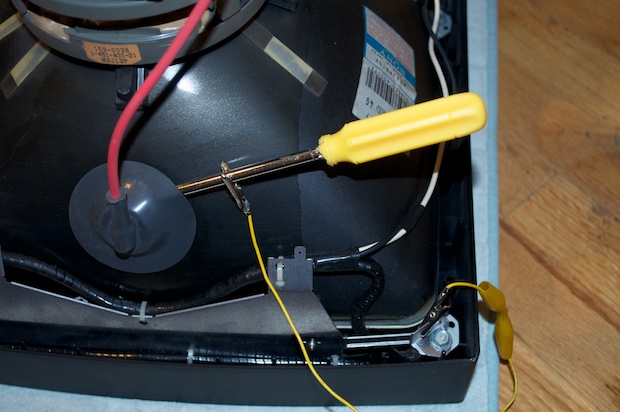
Discharge!
Remove the CRT from the Macintosh TV.
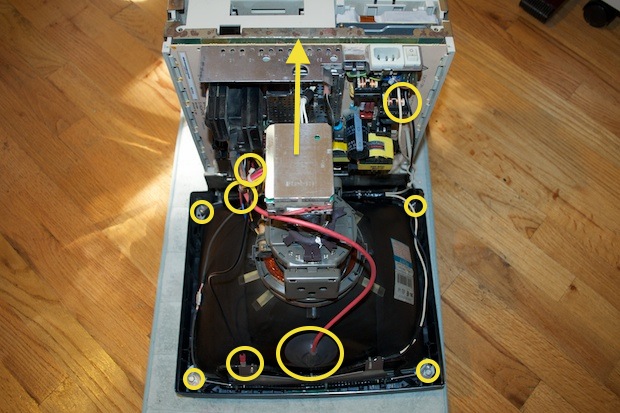
With all the cables detached….
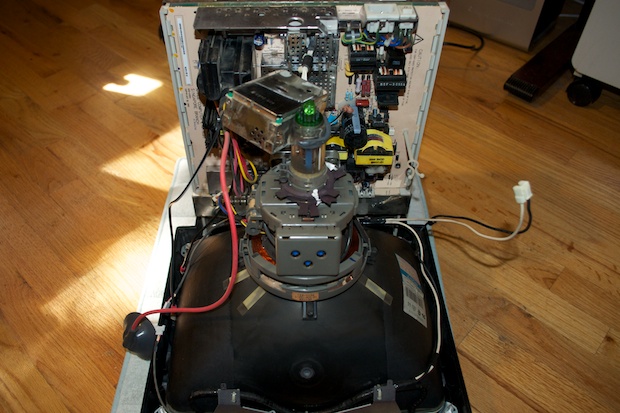
…you can pull the 4 bolts out.
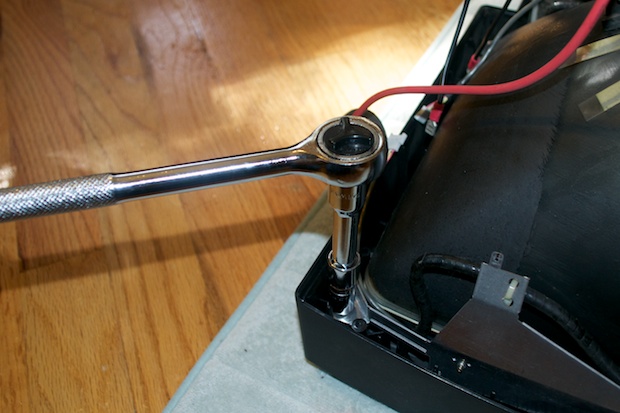
With the 4 bolts out, you can slide the degauss panels out.
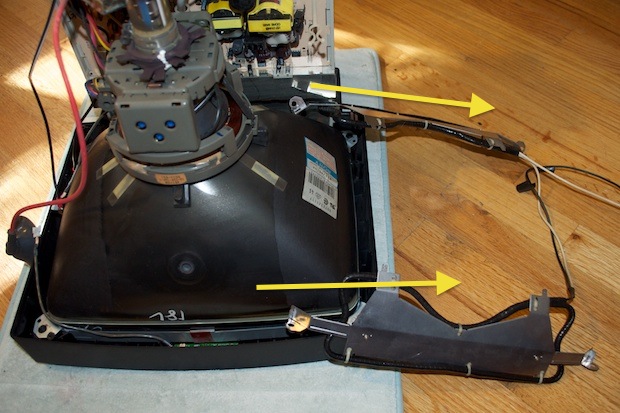
Followed by the CRT.
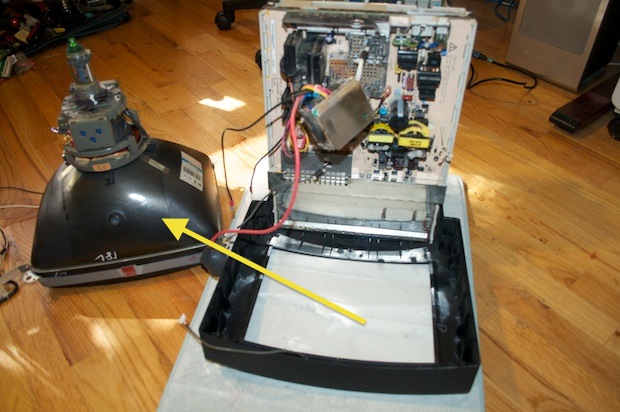
Moving over to the Performa 575…
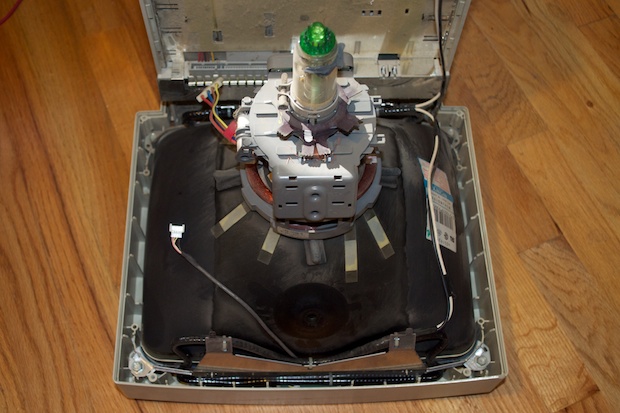
…remove the bolts and degauss panels.
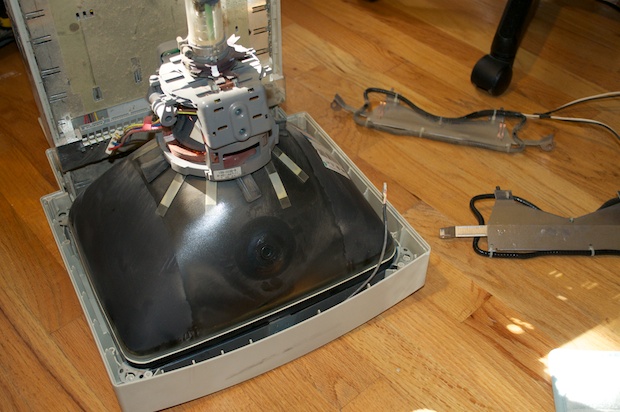
Followed by the CRT. It was a little dirty, so I cleaned it up.
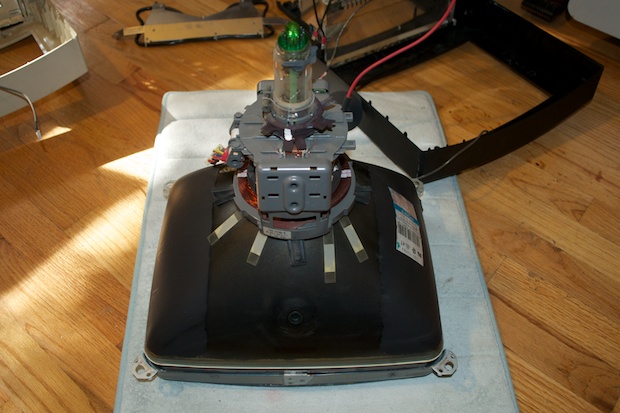
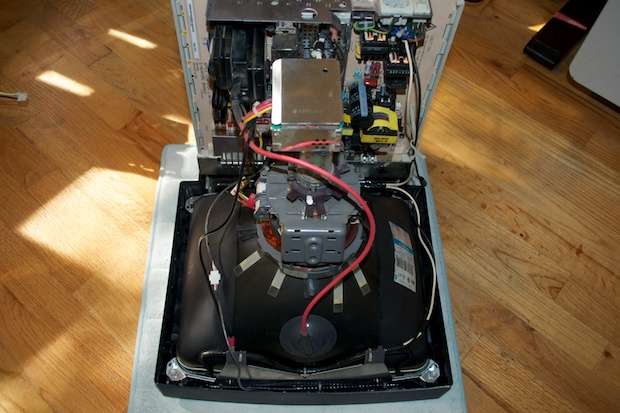
Drop the CRT into the Macintosh TV enclosure...
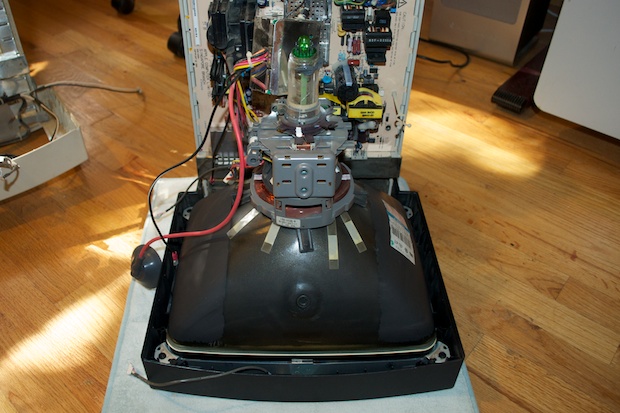
…and screw it in along with the degauss panels.
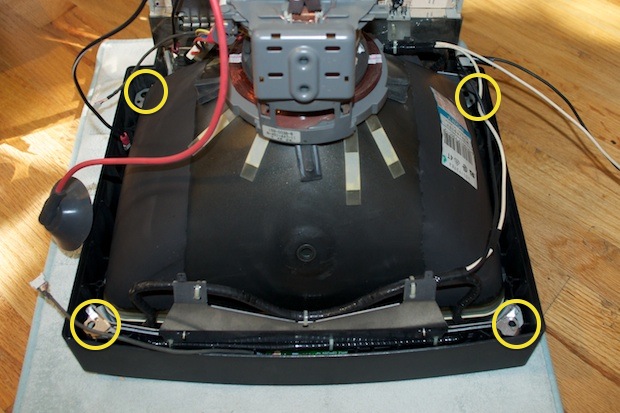
Finally, reattach all the wires.
Remove the defective CD-ROM drive. It’ll slide right out.
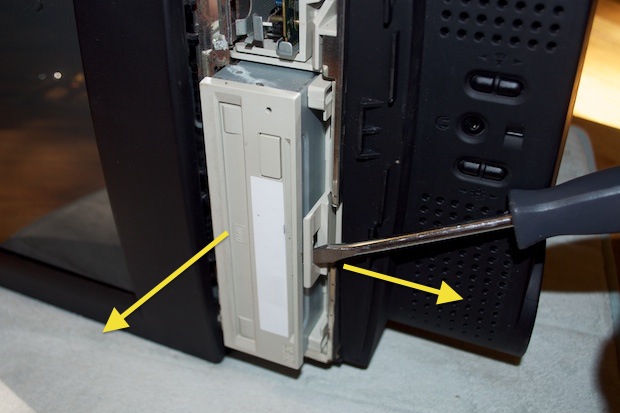
In with the CD-ROM drive from the LC 520.
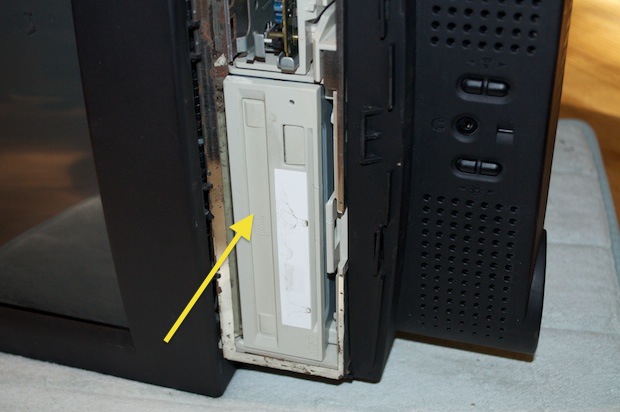
Same with the floppy…it’ll pull right out. You have to admit that the one good thing these machines have going for them is that it’s pretty easy to pull drives out whenever you have to.
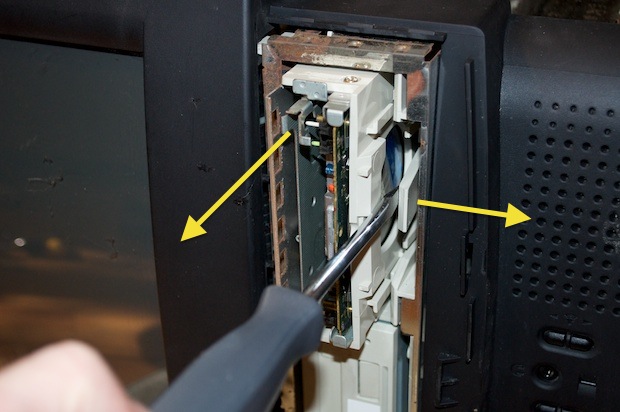
I pulled the floppy drive out of the LC 520 to discover that it’s connected via a ribbon cable.
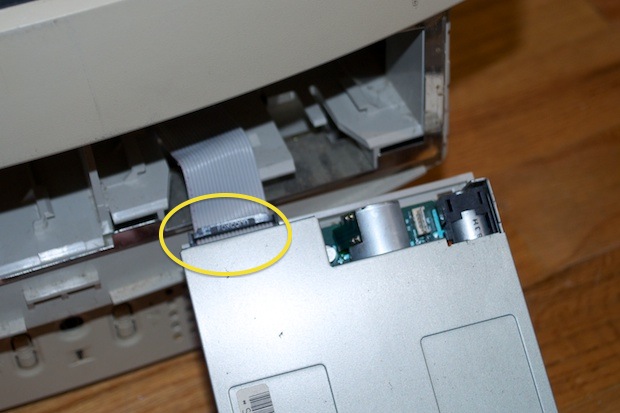
The floppy drive from the Macintosh TV sits in a plastic box and has an edge connector.
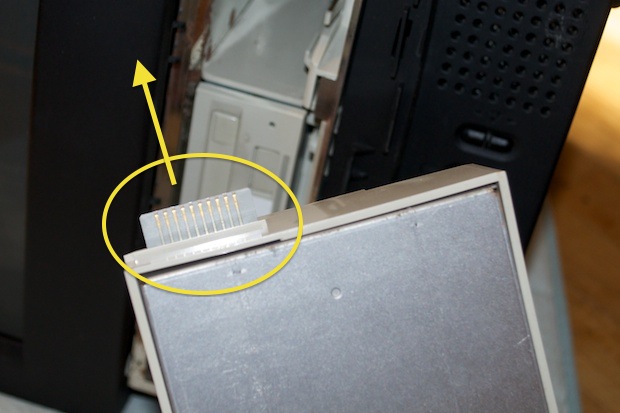
Fortunately, it pulls right off.
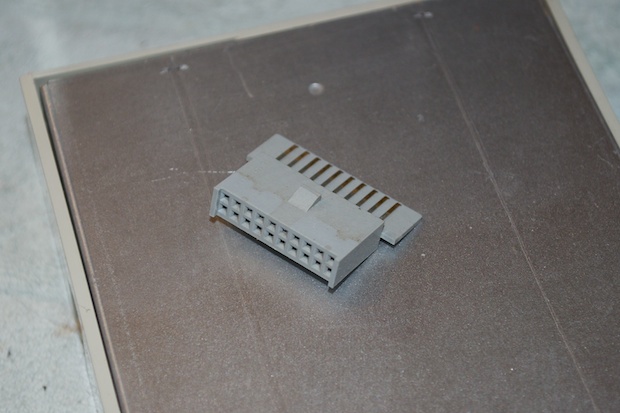
Since the drives appear to be the same size when held side-by-side, I pushed the edge connector onto the floppy from the LC 520…
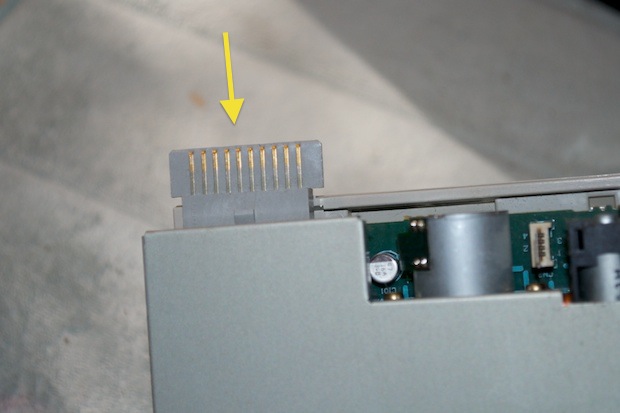
…and slide it into the Macintosh TV. It seems to fit.
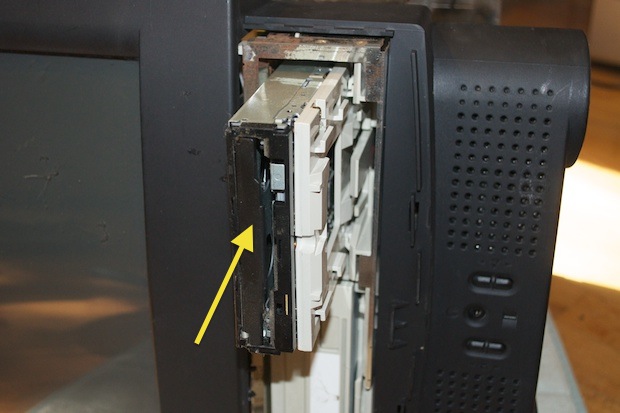
With the CRT, floppy, and CD-ROM swapped out, it was time to power the Mac on and make sure everything works.
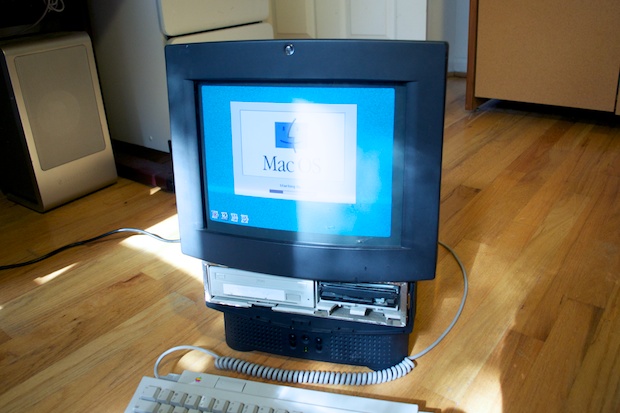
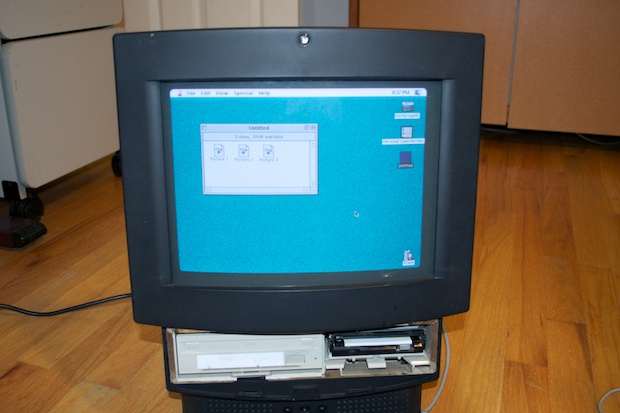
The CRT looks great. All the colors are aligned and there’s no burn in.
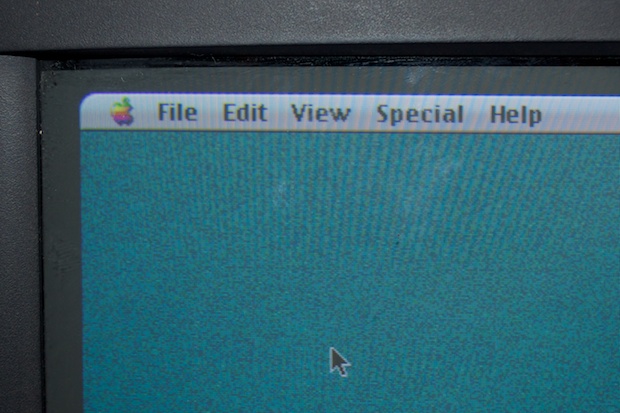
Floppy test…
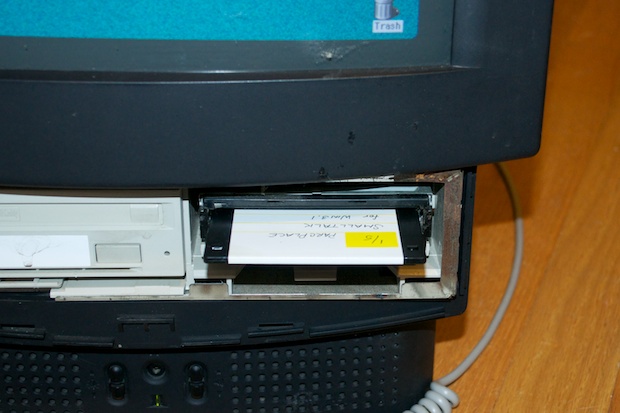
…success!
CD-ROM test...
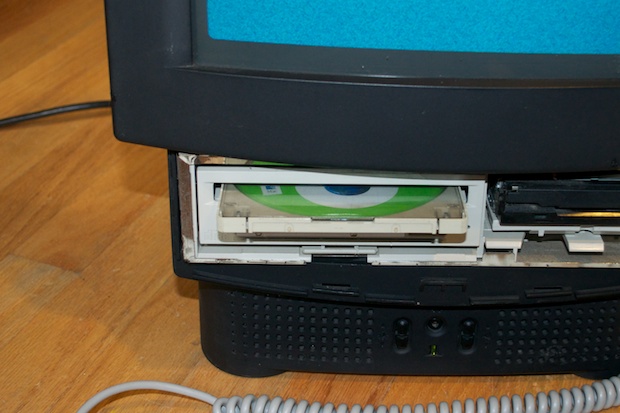
…success!
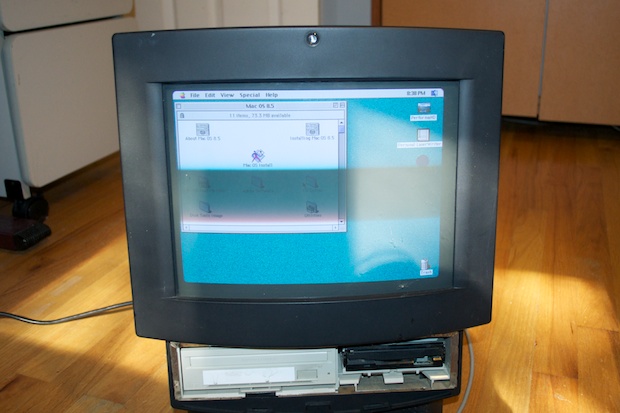
I put the front bezel back on and crossed my fingers that the floppy drive wouldn’t be hindered.
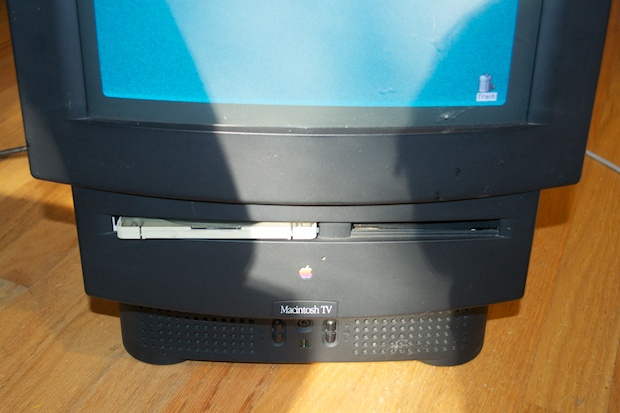
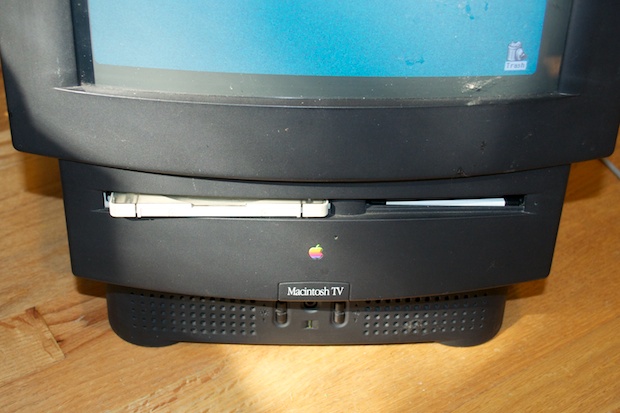
It’s perfect. The floppy disk goes in and out without a problem. Strange how two very different looking floppy drives are otherwise perfectly interchangeable.
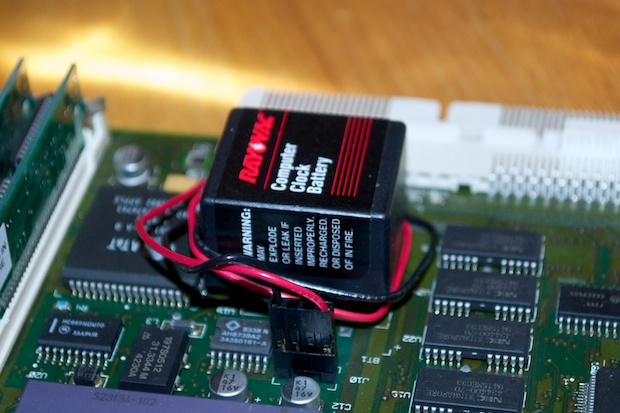
Last up, before I button it all up and shelf it….the PRAM battery needs to be replaced.
Just like I did with my
PowerMac 5200, I’ll use a little battery holder that came with one of my kids’ toys as a PRAM battery holder. (Don’t worry, it was only attached to the box so that you could try it in the store. You’re supposed to throw them away once you open the box, but I kept them knowing that they’d come in handy one day.)
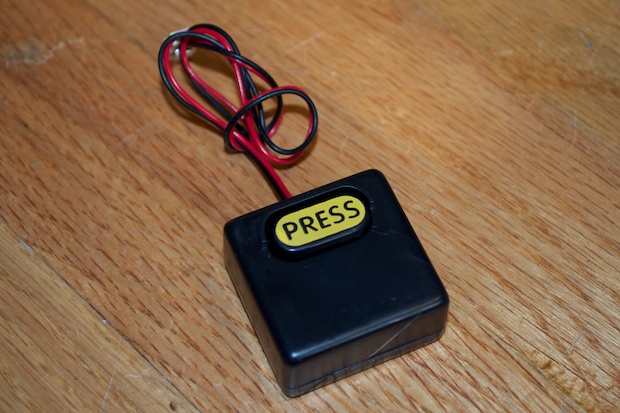
It takes 4 x 1.5V watch batteries, but pulling one out gives a good 4.5V. There’s still enough tension on the spring to hold the remaining 3 batteries.
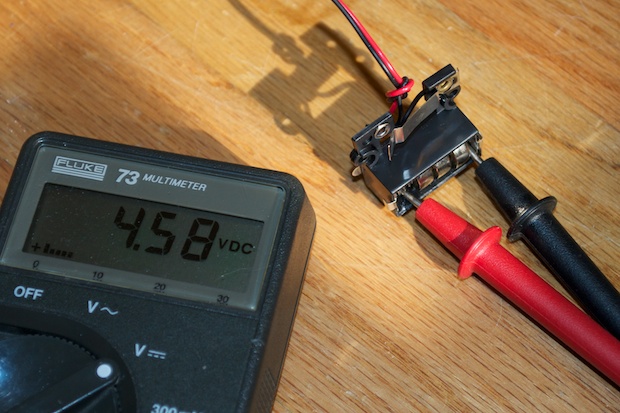
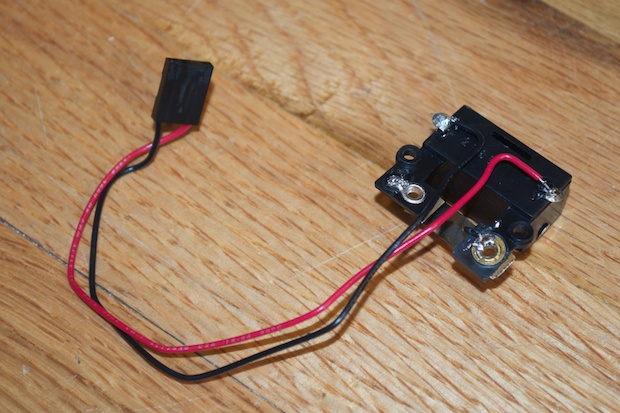
I cut the connector off the original PRAM battery and soldered it to the battery well, bypassing the demo switch.
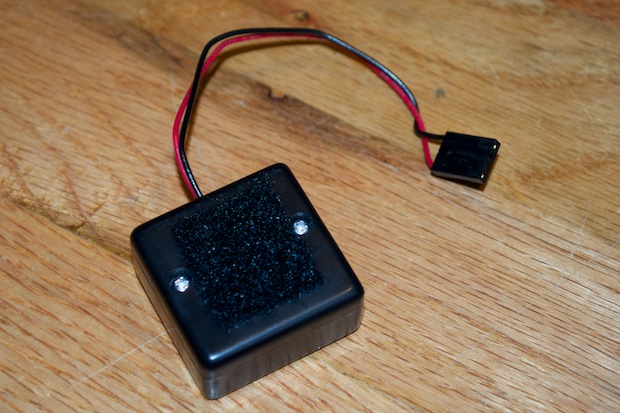
I screwed the battery holder back together and attached the velcro strip that was on the original battery.
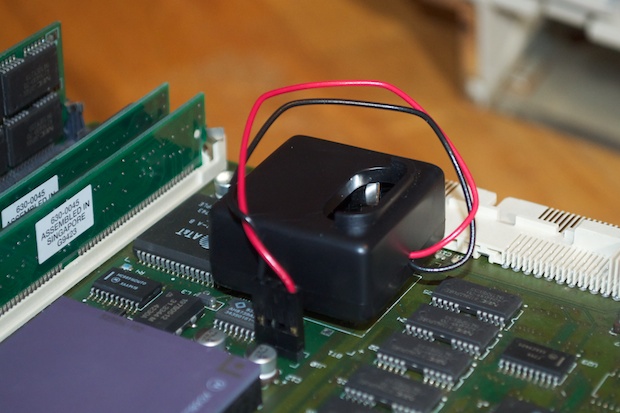
I connected it to the logicboard and secured it in place with the velcro. One new PRAM battery: DIY style!
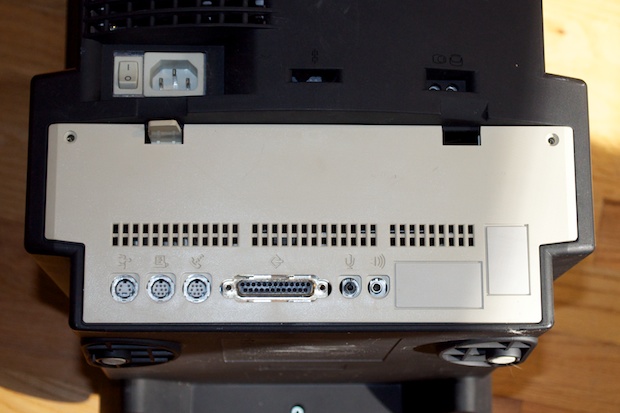
I screwed the back enclosure on and attempted to click in the I/O panel when I realized that the resistance it was giving me was due to the fact that the holes don’t line up. I forgot that the I/O between models was very different.
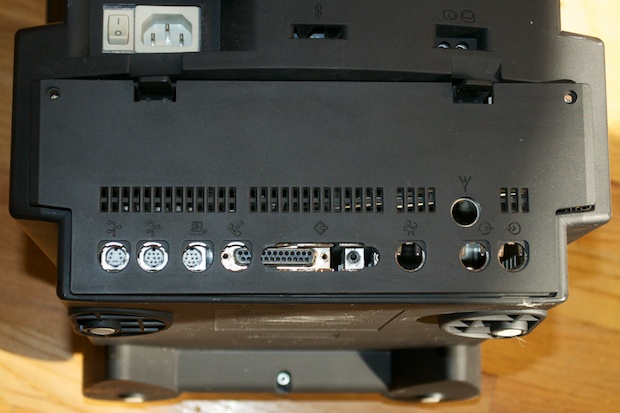
It’s a good thing it’s on the back, because that looks terrible! I guess it is what it is. It’ll just have to keep the original panel in a safe place. Maybe one day I’ll get lucky and I’ll actually find a working Macintosh TV board.
I put the Macintosh TV back on the credenza, hooked it up and powered it on.
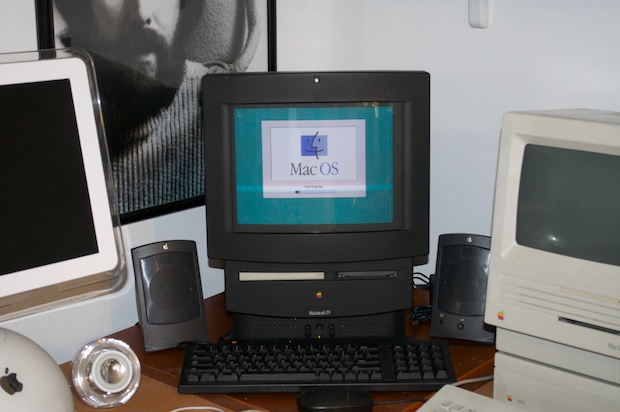
After 5 months of attempting to get this machine working, it’s awesome to finally see it up and running. It only seems fitting that the wallpaper for the only black Macintosh be that of Darth Vader.
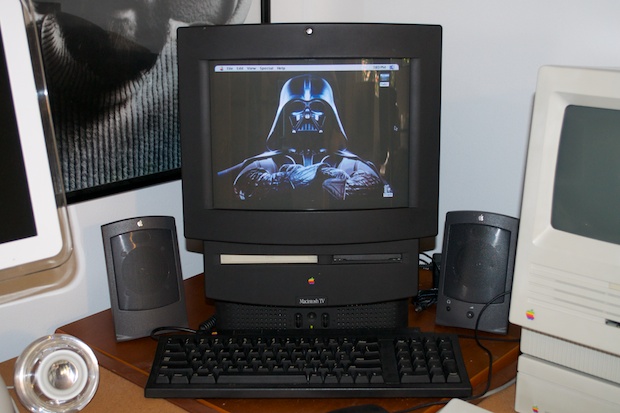
Impressive. Most Impressive.


