I cant believe it’s been almost 2 months since I took the StyleWriter II apart. I guess I’ve ben busier than usual with the holidays and all.
Anyway, down to business. I picked up more 30% H2O2 this weekend and set out to restore it. Here’s the work flow:
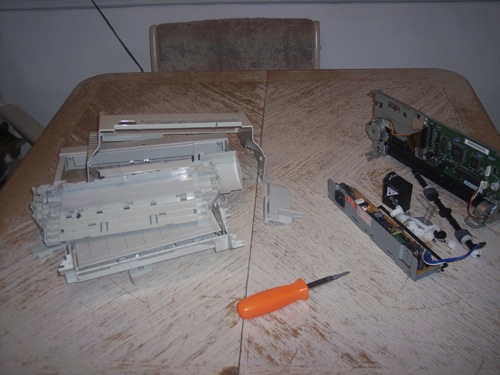
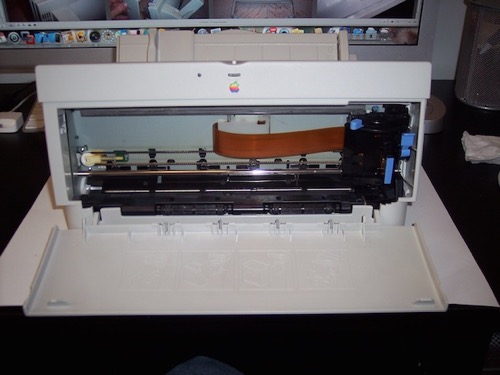
If you’ve been following along, you know that the StyleWriter II was last left as a pile of loose plastic and electronics.
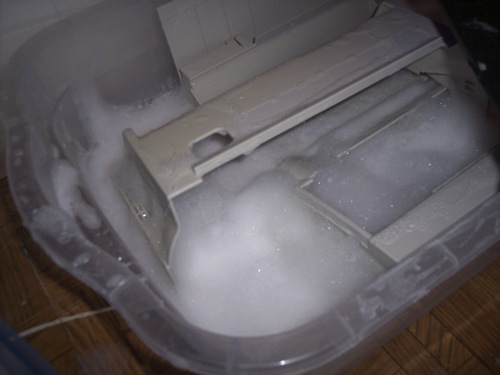
I prepared another peroxide bath and proceeded to dip the lot. I also took this as an opportunity to dip the Macintosh SE keyboard again. Some of the keys were still pretty yellow and could have used a second dipping.
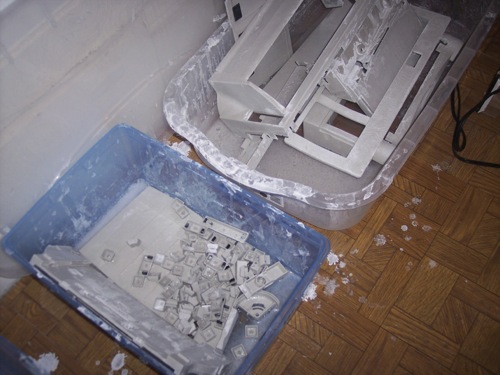
Mmmm, bubbly! I forgot to add the corn starch this time. Silly me. All I got was foam, but it did the job. I left that parts soaking all day and brushed on the solution every hour or two.
As far as the reassembly went, it was pretty easy. I rinsed and dried off all the parts and then just followed along with the pictures from the disassembly, but backwards.
I want to blow thought this quickly so I can focus on the before and after pictures.
With that said, I started with the base.
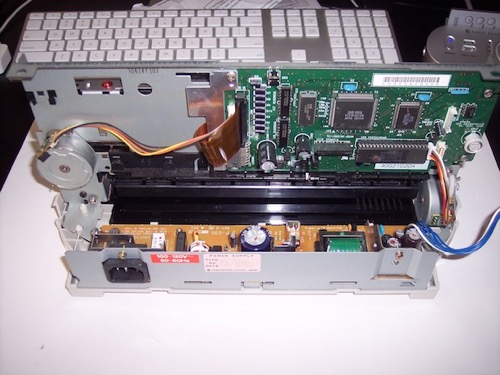
I then added the power supply and main assembly.
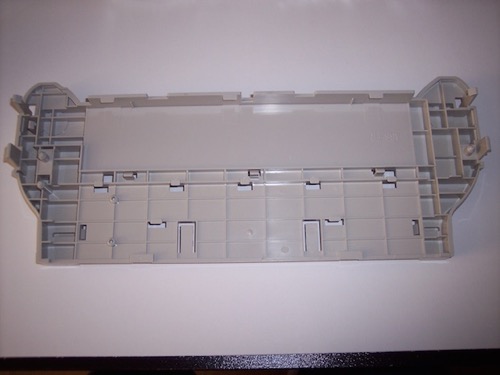
I reassembled the paper tray.
I put all the gears back on and attached it to the main assembly.

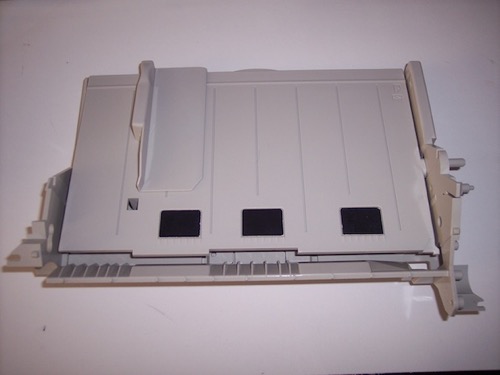
I then attached the back cover...
... followed by the front cover.
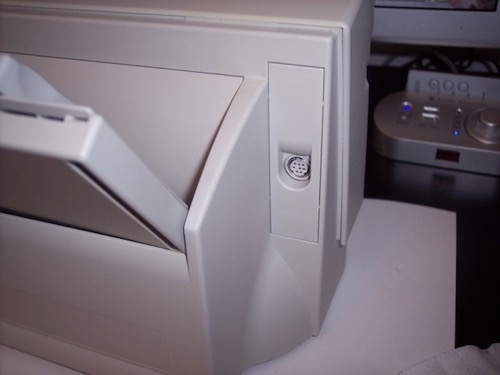
I put the I/O port cover back on.
Inserted the bottom paper tray.
And finished up by attaching the front door.
 Now for some before and after pictures!
Before: Overall slight yellowing. Very dirty.
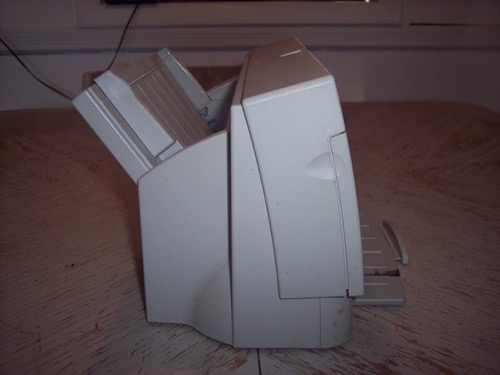
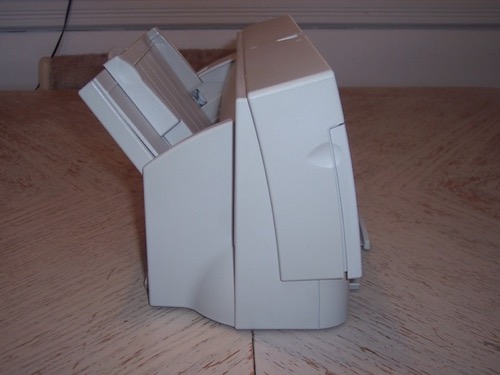
After: Color is better, cleaner.
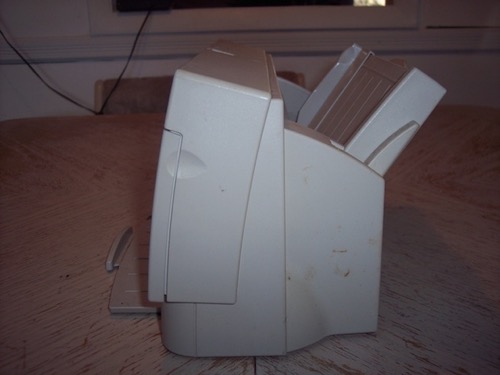
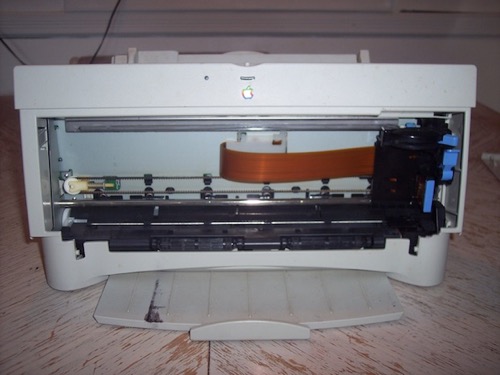
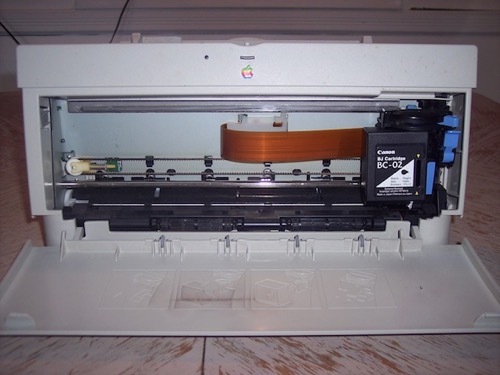
Before: Very, very dirty.
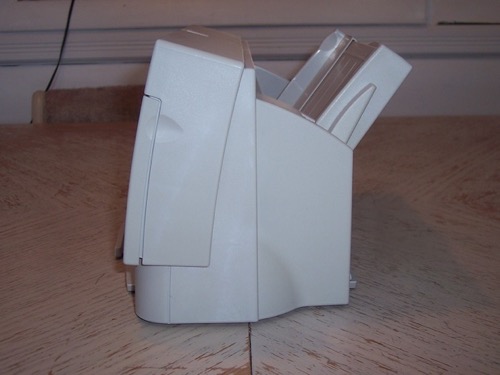
After: Much cleaner.
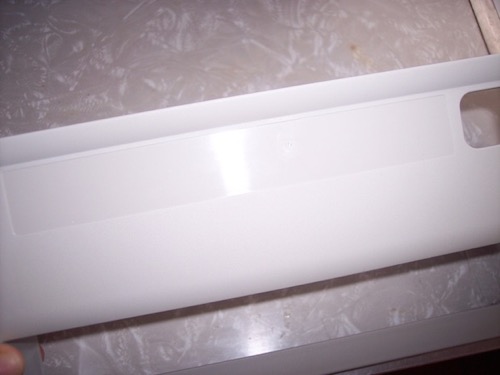
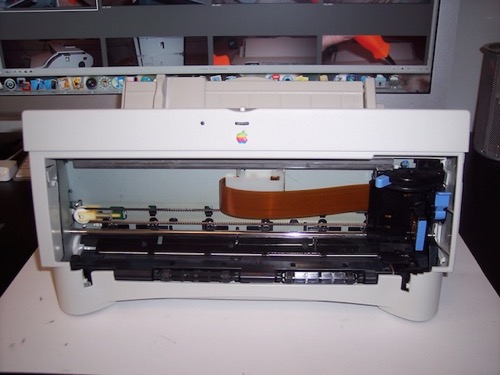
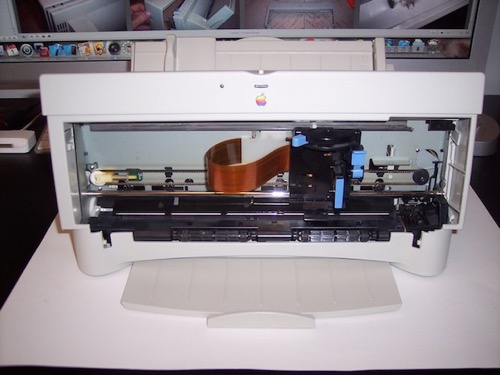
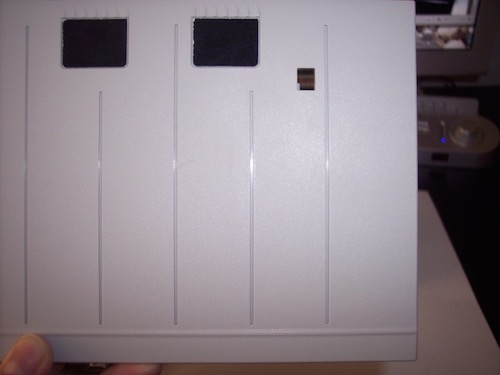
Before: You can see the slight yellow tone.
After: Original “platinum” color restored.
Before: The bottom paper tray is gross.
After: Clean.

Before: Dirty inside front door.
After: Clean.
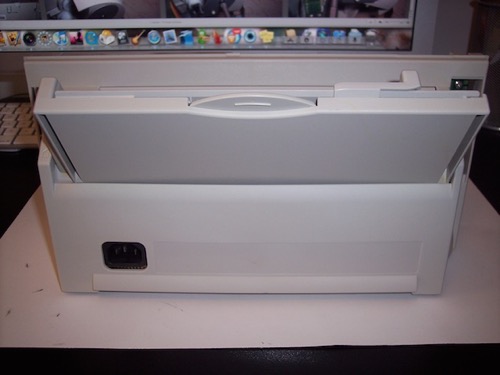
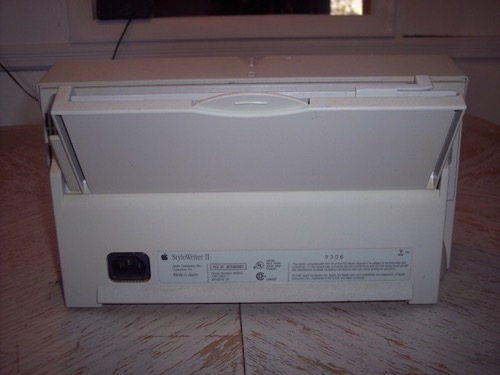
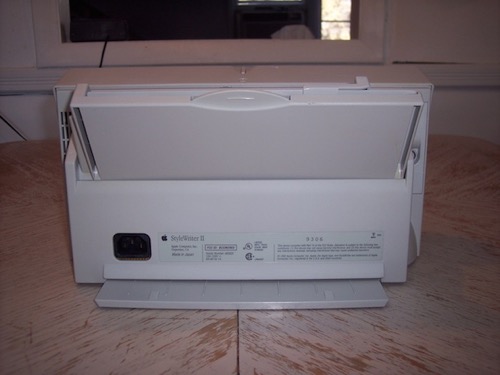
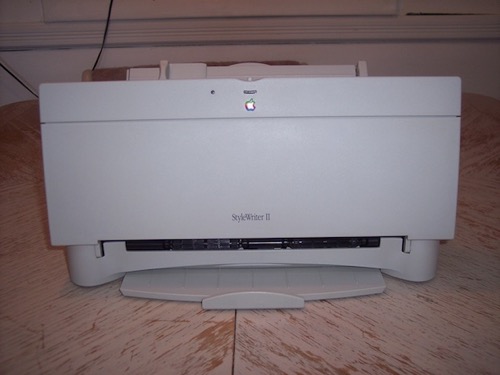
Before: Same as the back. Dirty and toned.
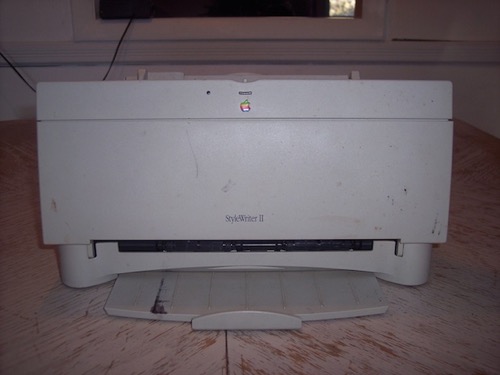
After: Now, all clean and platinum.
Before: Paper tray
After: Paper tray
The finish is now nice and even.
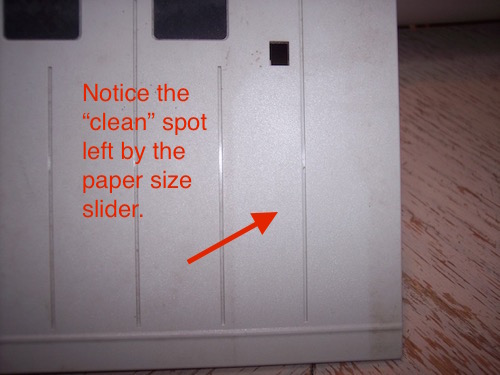
Before: Back label panel
Once the label was removed, the discoloration was even more obvious.
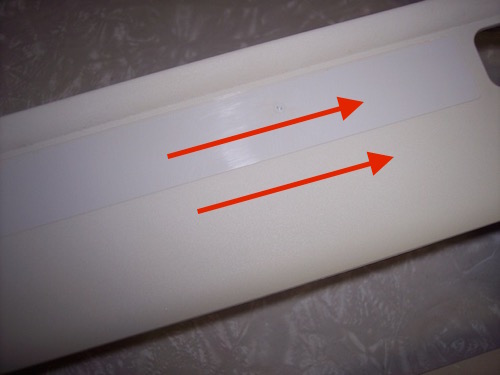
After: Back label panel
The color is now uniform.